SJ Market II
- created: 05/02/2018
- by: SmartAddons
- email: contact@ytcvn.com
Sj Market II is a powerful, professional multipurpose eCommerce Joomla Responsive Template that perfect for various kinds of online stores, eCommerce & business websites. With Sj Market II, you can quickly setp your online store just in minutes.
System Requirements – Joomla version 3.x
System Requirements: here
Component Requirements
Helix3 - Framework
This template uses Helix3 - Framework . You can refer to the Helix3 function: here
Install with Quickstart Package
By using this package, you will see your website exactly as our Demo with sample data. This is applied when you need a fresh Joomla with our template
The following steps will guide to install a quickstart package of SmartAddons Joomla Template: Click hereInstall with Template and Extensions
To install Template for Joomla, please click: here
The extensions package include of Modules, Components and Plugins.
Note: Extensions installation is the same with Template installation as above
Enable Modules and Plugins: here
To Install Acymailing Component, you can follow these steps:
Step 1: Please go to Extensions => Extension Manager
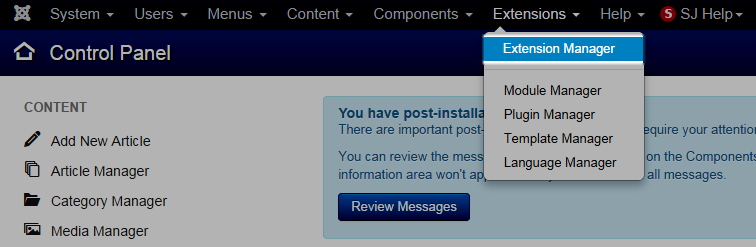
Step 2: Choose file Acymailing component.zip that you have downloaded and then Click on the button Upload & Install to install the uploaded package.

To install SP Page Builder Component you do the same as the installation Acymailing Component.
Install multilingual site in SJ Template
To help you about language problem when you work with SJ Template, please read this post: how to set up a multilingual site in SJ Template.
Layout Position

Template Configuration
Go to Extensions => Template Manager => SJ Market II. All of parameters of this template are divided into the following groups, in which they are explained themselves:
Header, Footer Configuration
Header Configuration
1. Position: top1
Frontend Appearance

1.1. Language Switcher
Module: Language Switcher
To configure this module, please go to Extensions >> Module Manager >>Click "New" button to create a new module >> Select "Language Switcher" module.
1.2. Currency Selector
Module: VirtueMart Currency
To configure this module, please go to Extensions >> Module Manager >>Click "New" button to create a new module >> Select "VirtueMart Currency Selector" module.
2. Position: top2
Frontend Appearance

To configure this module, please go to Extensions >> Module Manager >> Click “New” button to create a new module >> Select “Login Form” module.
3. Position: top3

4. Position: logo
Frontend Appearance
![]()
To configure Logo, please go to Extensions => Templates => sj-market => Basic Tab
5. Position: search - SJ Search Pro for VirtueMart
Frontend Appearance

To configure this module, please go to Extensions >> Module Manager >> Click “New” button to create a new module >> Select “SJ Search Pro for VirtueMart” module.
6. Position: cart - SJ Minicart Pro for Virtuemart
Frontend Appearance

To configure this module, please go to Extensions >> Module Manager >> Click “New” button to create a new module >> Select “SJ Minicart Pro for Virtuemart” module.
Footer Configuration
1. Position: position3
Frontend Appearance
Module: Custom
To configure this module,please go to Extensions >> Module Manager >> Click "New" button to create a new module >> Select "Custom" module.
<p><a href="#"><img src="images/sj-market/logo-footer.png" alt="" /></a></p>
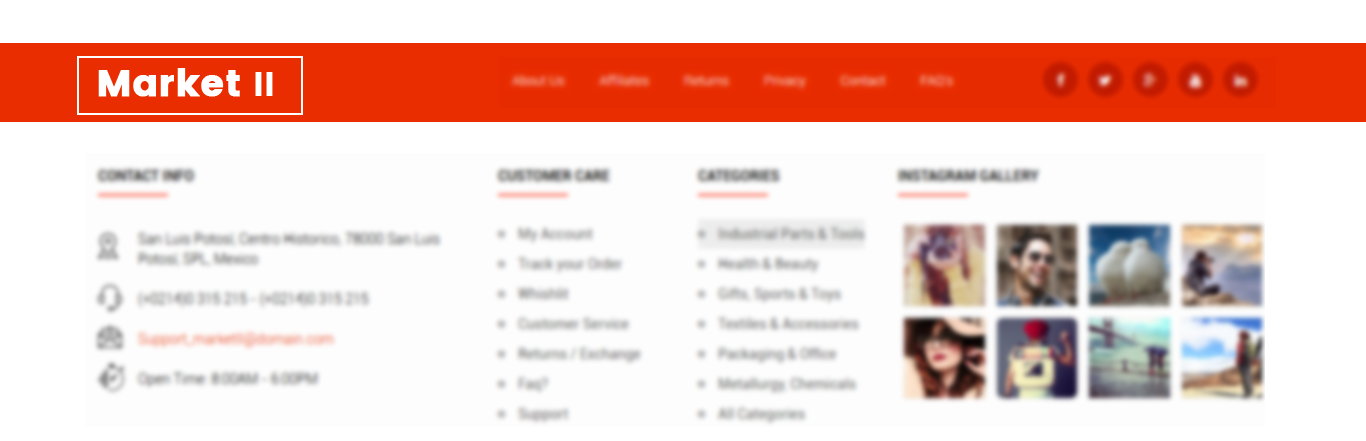
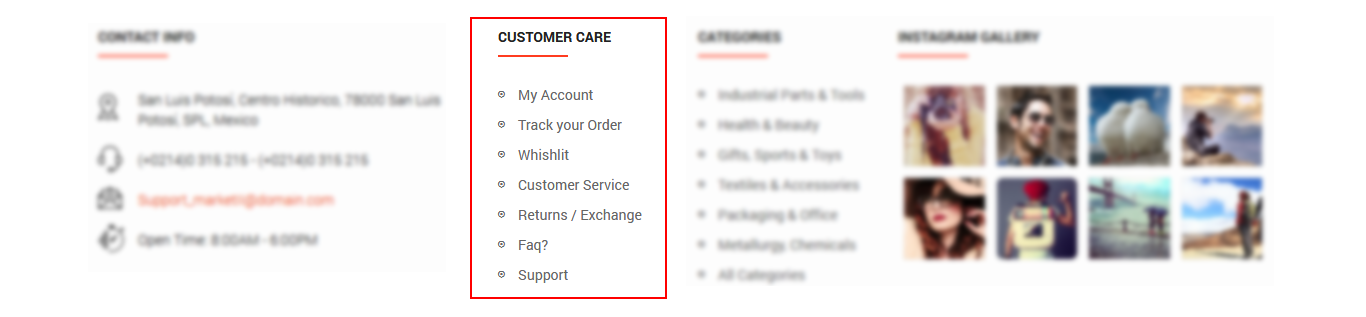
2. Position: user1
Frontend Appearance
Module: Menu
To configure this module,please go to Extensions >> Module Manager >> Click "New" button to create a new module >> Select "Menu" module.
3. Position: user2
Frontend Appearance
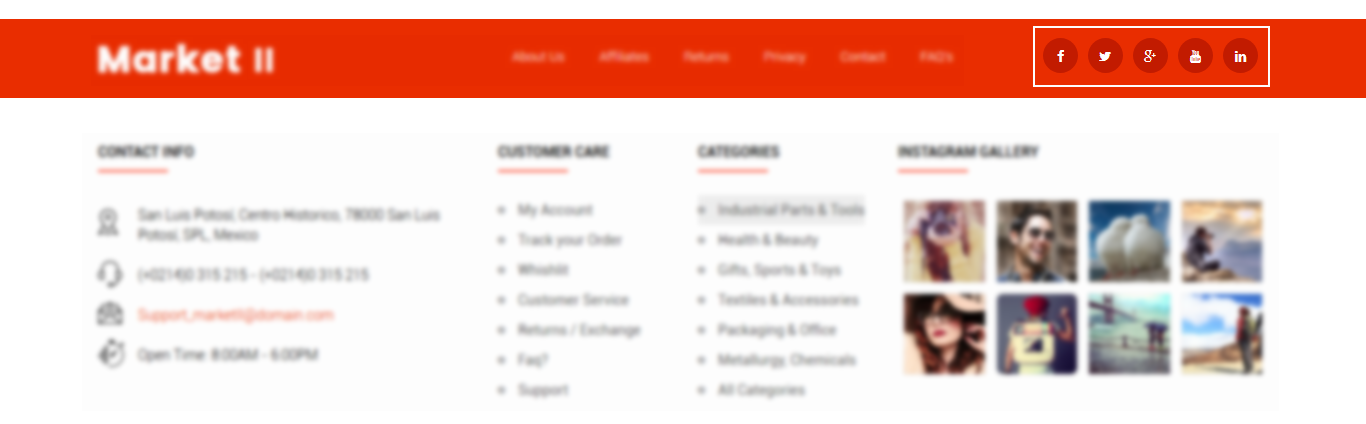
Module: Custom
To configure this module,please go to Extensions >> Module Manager >> Click "New" button to create a new module >> Select "Custom" module.
Copy & Paste the code into your editor:<ul class="social-icons">
<li><a target="_blank" href="https://www.facebook.com/smartaddons"><i class="fa fa-facebook"></i></a></li>
<li><a target="_blank" href="https://twitter.com/smartaddons"><i class="fa fa-twitter"></i></a></li>
<li><a target="_blank" href="https://plus.google.com/u/0/+Smartaddons"><i class="fa fa-google-plus"></i></a></li>
<li><a target="_blank" href="https://www.youtube.com/user/smartaddons"><i class="fa fa-youtube"></i></a></li>
<li><a target="_blank" href="https://www.linkedin.com/in/smartaddons"><i class="fa fa-linkedin"></i></a></li>
</ul>
4. Position: bottom1
Frontend Appearance

Module: HTML
To configure this module,please go to Extensions >> Module Manager >>Click "New" button to create a new module >> Select "HTML" module.
5. Position: bottom2
Frontend Appearance
Module: Custom
To configure this module,please go to Extensions >> Module Manager >> Click "New" button to create a new module >> Select "Custom" module.
<ul class="nav menu">
<li class="item-289"><a href="/ytc_templates/joomla38/sj_market2/index.php/en/my-account"> My Account</a></li>
<li class="item-290"><a href="/ytc_templates/joomla38/sj_market2/index.php/en/track-your-order"> Track your Order</a></li>
<li class="item-291"><a href="#"> Whishlit</a></li>
<li class="item-292"><a href="#"> Customer Service</a></li>
<li class="item-293"><a href="#"> Returns / Exchange</a></li>
<li class="item-294"><a href="#"> Faq?</a></li>
<li class="item-295"><a href="#"> Support</a></li>
</ul>
6. Position: bottom3
Frontend Appearance

Module: Custom
To configure this module,please go to Extensions >> Module Manager >> Click "New" button to create a new module >> Select "Custom" module.
7. Position: bottom4
Frontend Appearance
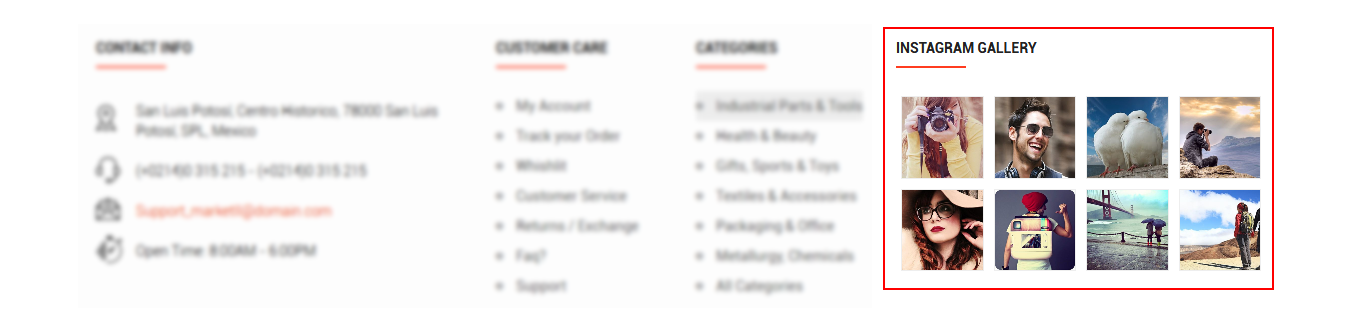
Module: SJ Instagram Gallery
To configure this module,please go to Extensions >> Module Manager >> Click "New" button to create a new module >> Select "SJ Instagram Gallery" module.
8. Position: postion-9
Frontend Appearance
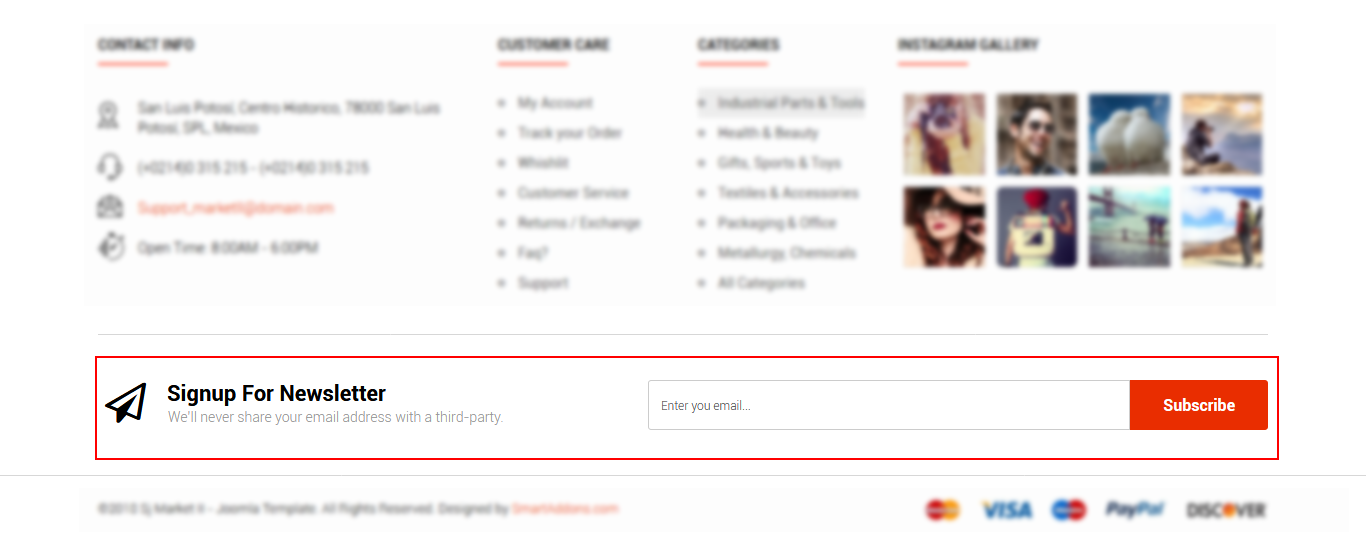
Module: AcyMailing
To configure this module,please go to Extensions >> Module Manager >>Click "New" button to create a new module >> Select "AcyMailing" module.
9. Position: Footer2
Frontend Appearance

Module: Custom
To configure this module,please go to Extensions >> Module Manager >> Click "New" button to create a new module >> Select "Custom" module.
<p><img src="images/sj-market/payment.jpg" alt="" /></p>
Settings Layout
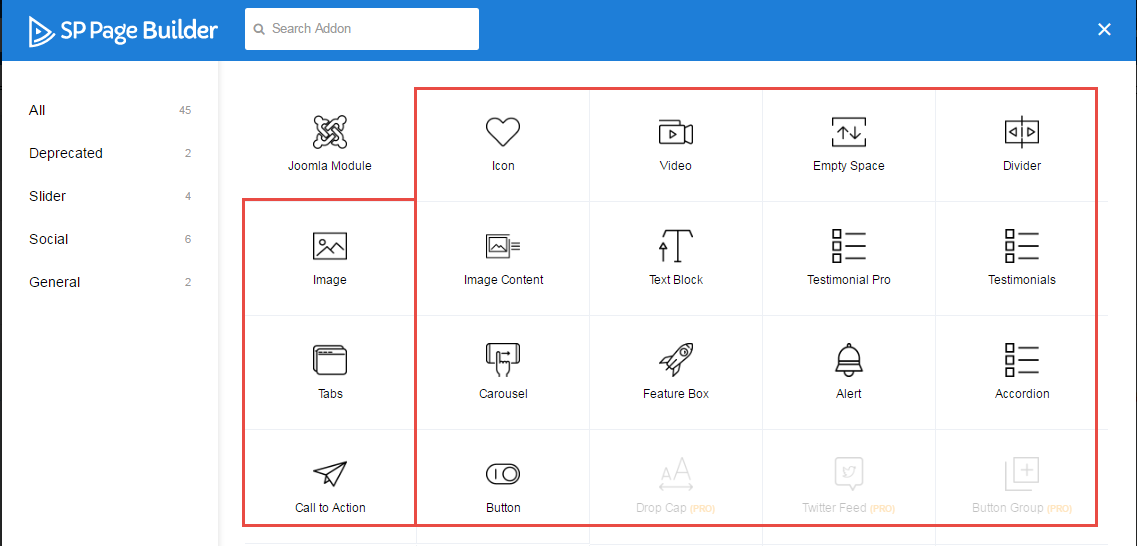
1. Create new SP Page Builder
Please go to Components =>
SP Page Builder => Click New button => Enter the Title: Home Page
Backend Settings

To create new rows of Home Page, please click " Add new Row" button
Example: Create a new row: Block1
General Tab: backend settings
Style Tab: backend settings
Responsive Tab: backend settings
To create new rows, please click " Add new Addon" button

To configure Addon, We have 2 options
Options 1: Click "Joomla Module" then please fill General Tab
General Tab: backend settings
Note: To create new Joomla module, xample Custom HTML, please go to Extensions => Module Manager => Click New button to create a new module => Select HTML module.
Options 2: Click "Shortcode" then please fill General Tab
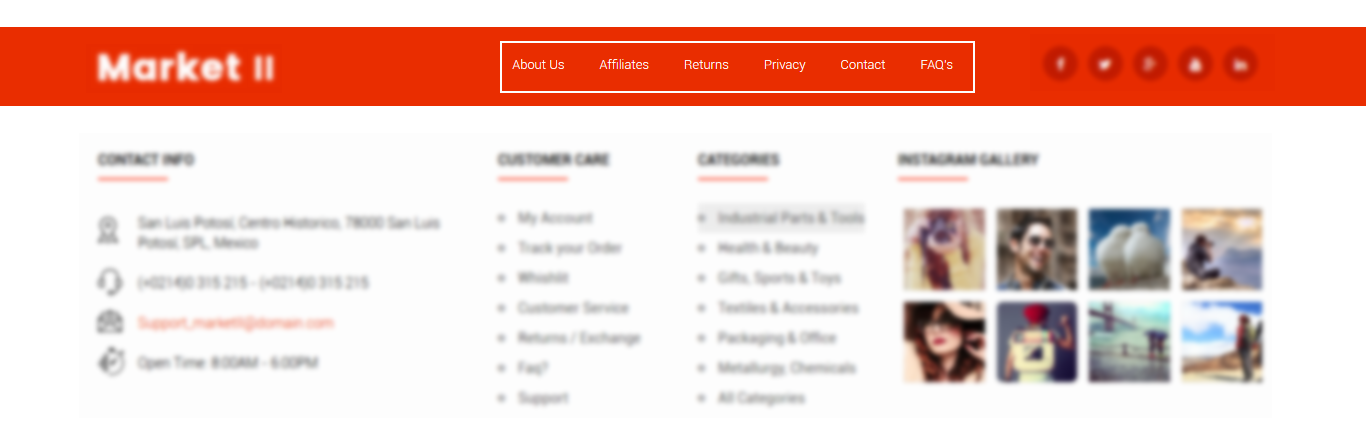
2. Sj Mega Menu - Horizontal & Main Menu
2.1. Sj Mega Menu - Horizontal - Position: menu-horizontal
Frontend Appearance

To configure Joomla module - Sj Mega Menu - Horizontal, please go to Extensions => Module Manager => Click New button to create a new module => Select Sj Mega Menu - Horizontal module.

3. Top Tags - Position: position1
Frontend Appearance

Backend Settings
-
Module: Custom
To configure Joomla module - Custom, please go to Extensions => Module Manager => Click New button to create a new module => Select Custom module.
Copy & paste this code into your editor:
<div class="custom-top-tags">
<div class="sm-top-tags-title">Top Tags:</div>
<div class="sm-top-tags-keywords">
<ul class="sm-top-tags-keywords-list">
<li><a href="#">Electronic Cigarettes</a></li>
<li><a href="#">Eye Makeup</a></li>
<li><a href="#">iPad Mini Cases</a></li>
<li><a href="#">iPhone 5 Cases</a></li>
<li><a href="#">Tattoo Supplies</a></li>
<li><a href="#">RC Helicopters</a></li>
<li><a href="#">Tablets</a></li>
<li><a href="#">Laptops</a></li>
<li><a href="#">Mornitors</a></li>
<li><a href="#">Cameras</a></li>
</ul>
</div>
</div>
4. Homepage Slideshow - Position: position2
Frontend Appearance

Backend Settings
Module: Custom
To configure Joomla module - Custom, please go to Extensions => Module Manager => Click New button to create a new module => Select Custom module.
Screenshots:
Module, Options, AdvancedCopy & Paste the code into your editor:
[yt_content_slider style="default" margin="0" items_column0="1" items_column1="1" items_column2="1" items_column3="1" items_column4="1" type_change="fade" transitionin="fadeIn" transitionout="fadeOut" arrows="yes" arrow_position="arrow-default" pagination="yes" autoplay="no" autoheight="no" hoverpause="yes" lazyload="no" loop="yes" speed="0.6" delay="4" ] [yt_content_slider_item src="images/slideshow/1.jpg" caption="no" link="#" ] Add Content Here [/yt_content_slider_item] [yt_content_slider_item src="images/slideshow/2.jpg" caption="no" link="#" ] Add Content Here [/yt_content_slider_item] [yt_content_slider_item src="images/slideshow/3.jpg" caption="no" link="#" ] Add Content Here [/yt_content_slider_item] [/yt_content_slider]
5. Home Support - Position: position-4
Frontend Appearance

Backend Settings
-
Module: Custom
To configure Joomla module - Custom, please go to Extensions => Module Manager => Click New button to create a new module => Select Custom module.
Screenshot:
Module, Options, AdvancedCopy & Paste the code into your editor:
<div class="banner-policy">
<div class="inner">
<div class="policy policy1"><a href="#"><span class="ico-policy">ico policy</span> <span class="title">Free Delivery</span><br /> <span class="text">From $59.89</span></a></div>
<div class="policy policy2"><a href="#"><span class="ico-policy">ico policy</span> <span class="title">Support 24/7</span><br /> <span class="text">Online 24 hours</span></a></div>
<div class="policy policy3"><a href="#"><span class="ico-policy">ico policy</span> <span class="title">Free return</span><br /><span class="text">365 a day</span></a></div>
<div class="policy policy4"><a href="#"><span class="ico-policy">ico policy</span> <span class="title">Payment Method</span><br /><span class="text">Secure payment</span></a></div>
</div>
</div>
6. Shop By Categories - Position: position-7
Frontend Appearance

Backend Settings
Module: SJ Categories for VirtueMart
To configure Joomla module - SJ Categories for VirtueMart, please go to Extensions => Module Manager => Click New button to create a new module => Select SJ Categories for VirtueMart module.
Screenshot:
Module, Source Options, Category Options, Image Options, Advanced7. Deals Of The Week -Position: position-11
Frontend Appearance
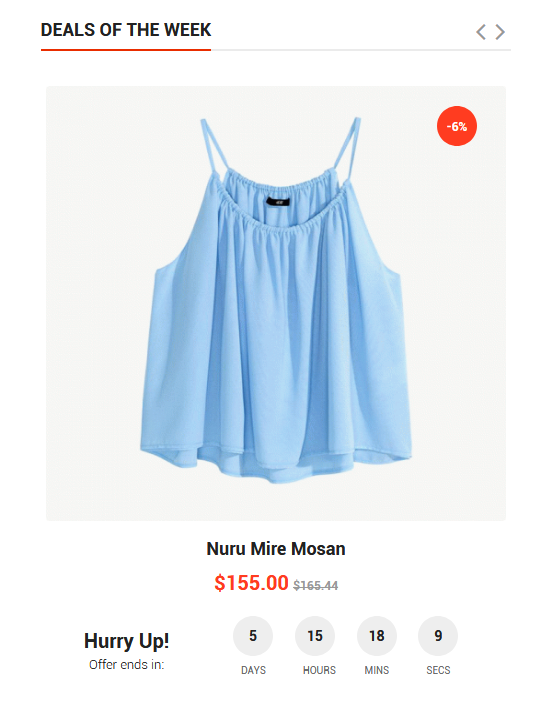
Backend Settings
Module: SJ Deals for VirtueMart
To configure Joomla module - SJ Deals for VirtueMart, please go to Extensions => Module Manager => Click New button to create a new module => Select SJ Deals for VirtueMart module.
Screenshot:
Module, Source Options, Products Options, Category Options, Images Options, Effect Options, Advanced8. Best Sellers - Position: position-12
Frontend Appearance

Backend Settings
Module: SJ Extra Slider for VirtueMart
To configure Joomla module - SJ Extra Slider for VirtueMart , please go to Extensions => Module Manager => Click New button to create a new module => Select SJ Extra Slider for VirtueMart module.
Screenshot:
Module, Source Options, Item Options, Image Options, Effect Options, Advanced9. Featured Items - Position: position-6
Frontend Appearance
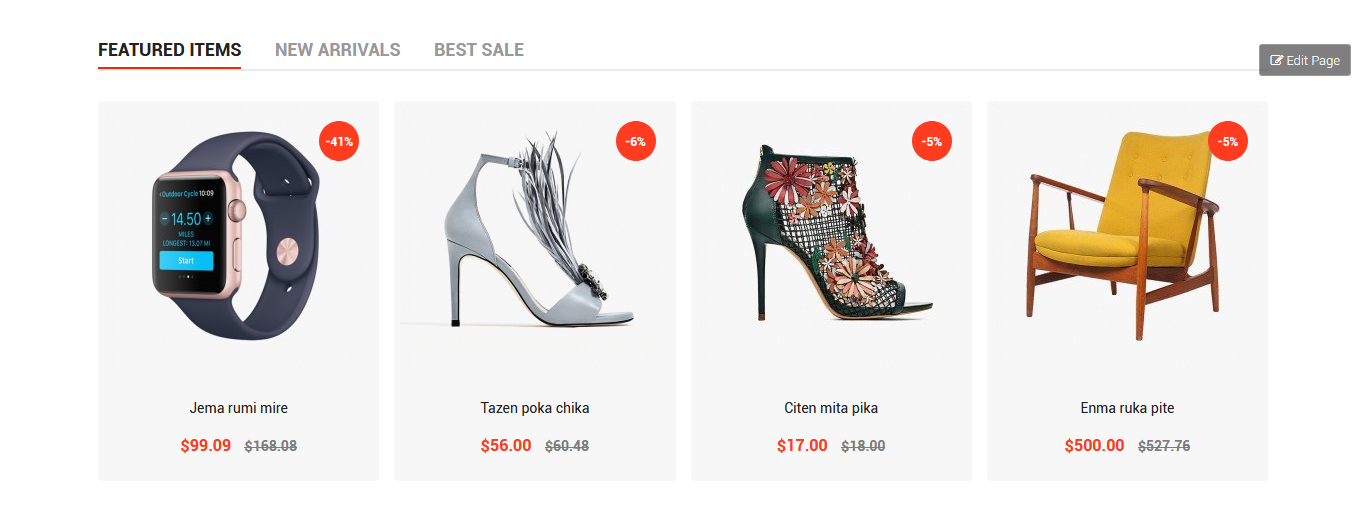
Backend Settings
Module: SJ Listing Tabs for VirtueMart
To configure Joomla module - SJ Listing Tabs for VirtueMart, please go to Extensions => Module Manager => Click New button to create a new module => Select SJ Listing Tabs for VirtueMart module.
Screenshot:
Module, Source Options, Tabs Options, Products Options, Image Options, Effect Options Advanced10. Trending Items - Position: position-8
Frontend Appearance
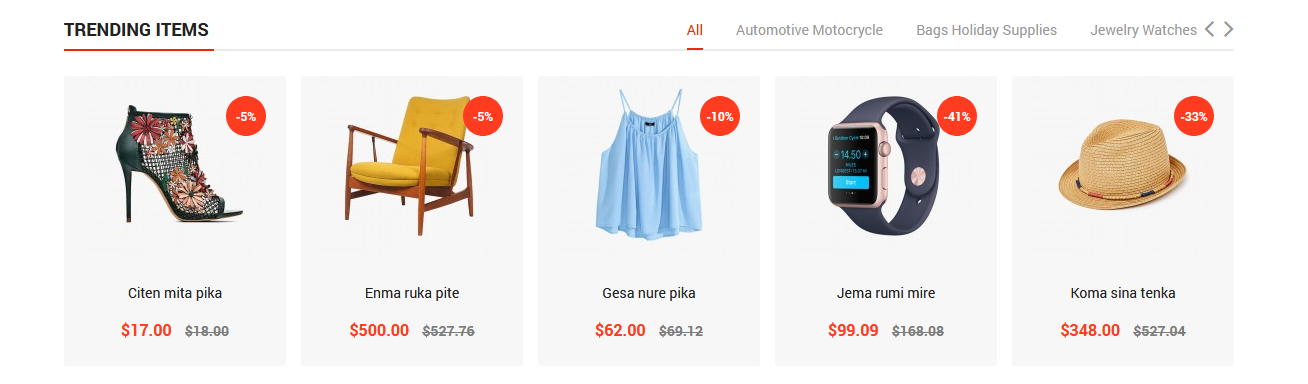
Backend Settings
Module: SJ Listing Tabs for VirtueMart
To configure Joomla module - SJ Listing Tabs for VirtueMart, please go to Extensions => Module Manager => Click New button to create a new module => Select SJ Listing Tabs for VirtueMart module.
Screenshot:
Module, Source Options, Tabs Options, Products Options, Image Options, Effect Options Advanced11. Top Brands - Position: position-13
Frontend Appearance

Module: Custom
To configure this module,please go tog> Extensions >> Module Manager >> Click "New" button to create a new module >> Select "Custom" module.
Copy & Paste the code into your editor:[yt_content_slider style="default" margin="10" items_column0="6" items_column1="4" items_column2="3" items_column3="2" items_column4="1" type_change="fade" transitionin="fadeIn" transitionout="fadeOut" arrows="yes" arrow_position="arrow-default" pagination="no" autoplay="no" autoheight="no" hoverpause="no" lazyload="no" loop="no" speed="0.6" delay="4" ] [yt_content_slider_item src="images/sj-market/bran1.jpg" caption="no" link="#" ] Add Content Here [/yt_content_slider_item] [yt_content_slider_item src="images/sj-market/bran2.jpg" caption="no" link="#" ] Add Content Here [/yt_content_slider_item] [yt_content_slider_item src="images/sj-market/bran3.jpg" caption="no" link="#" ] Add Content Here [/yt_content_slider_item] [yt_content_slider_item src="images/sj-market/bran4.jpg" caption="no" link="#" ] Add Content Here [/yt_content_slider_item] [yt_content_slider_item src="images/sj-market/bran5.jpg" caption="no" link="#" ] Add Content Here [/yt_content_slider_item] [yt_content_slider_item src="images/sj-market/bran1.jpg" caption="no" link="#" ] Add Content Here [/yt_content_slider_item] [yt_content_slider_item src="images/sj-market/bran2.jpg" caption="no" link="#" ] Add Content Here [/yt_content_slider_item] [yt_content_slider_item src="images/sj-market/bran3.jpg" caption="no" link="#" ] Add Content Here [/yt_content_slider_item] [yt_content_slider_item src="images/sj-market/bran4.jpg" caption="no" link="#" ] Add Content Here [/yt_content_slider_item] [/yt_content_slider]
12. From The Blog - Position: user4
Frontend Appearance
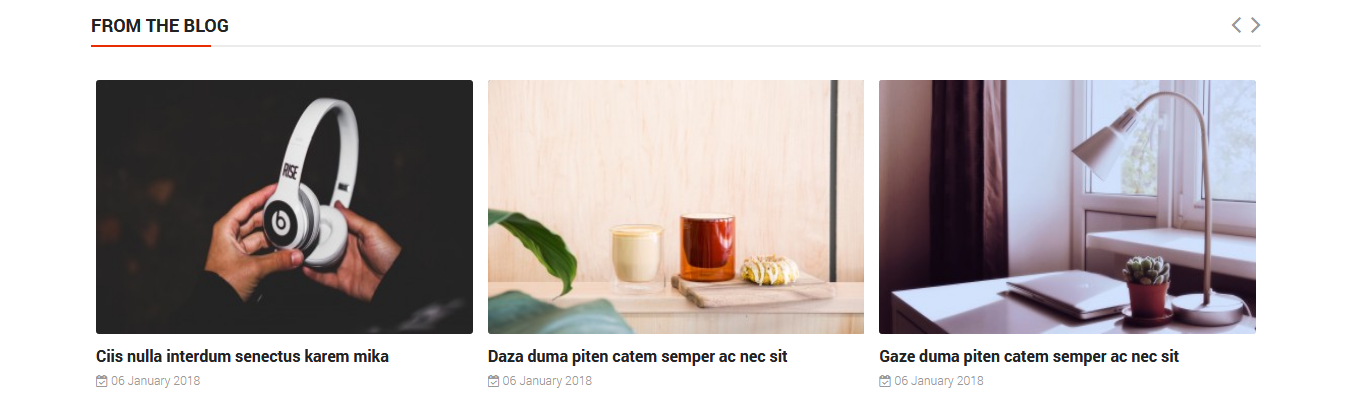
Backend Settings
Module: SJ Extra Slider for Content
To configure Joomla module - SJ Extra Slider for Content , please go to Extensions => Module Manager => Click New button to create a new module => Select SJ Extra Slider for Content module.
Screenshot:
Module, Source Options, Items Options, Image Options, Effect Options AdvancedCopyright
To remove Designed by SmartAddons.Com at the footer of template, please purchase our Copyright Removal here
Support
Thank you so much for purchasing this template. If you have any questions that are beyond the scope of this help file, please send us via: Submit a Ticket
Thanks so much!