Sj SmartHome


Sj SmartHome - Smart Home Automation & Technologies Joomla Template

System Requirements: here

SP Page Builder Component

VirtueMart Component

Download Packages from our store: here

This template uses Helix ultimate - Framework . You can refer to the Helix ultimate function: here

By using this package, you will see your website exactly as our Demo with sample data. This is applied when you need a fresh Joomla with our template

The following steps will guide to install a quickstart package of SmartAddons Joomla Template: Click here
1. Install Template

To install Template for Joomla, please click: here

2. Install Extensions

The extensions package include of Modules, Components and Plugins.

Note: Extensions installation is the same with Template installation as above

Enable Modules and Plugins: here

3. Install Component

To Install SP Page Builder Component, VirtueMart Component, you can follow these steps:

Step 1: Please go to Extensions => Extension Manager

Step 2: Choose file SP Page Builder.zip that you have downloaded and then Click on the button Upload & Install to install the uploaded package.

4. NOTE Enable Plugin

To Install Plugin System - Helix Ultimate Framework, you can follow these steps:

Step 1: Please go to Extensions => Plugins

Step 2: Choose filter system and then Click on the button Enable & Plugin System - Helix Ultimate Framework and YT Shortcodes plugin

5. Import Json

To Install Template, you can follow these steps:

Step 1: Please go to Extensions => Templates

Step 2: Choose Styles sj_cryptoz - Default and then Click on the button Template & Options to advanced and choose the Import Settings.

Step 3: Download: file json and open & copy

Step 4: Advanced tab Import & Export and then Save
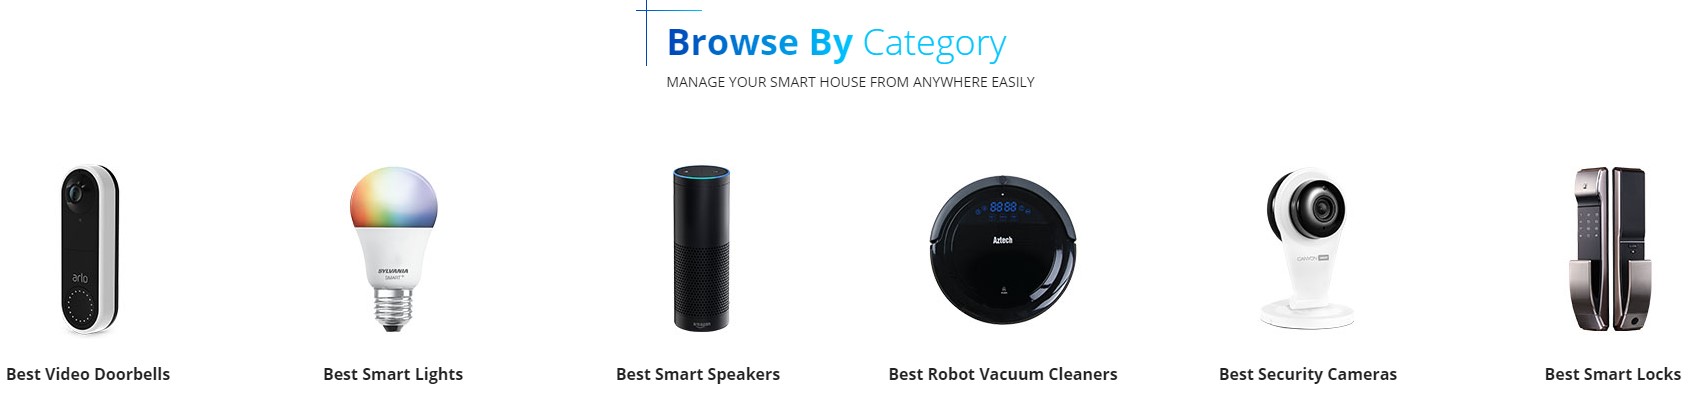
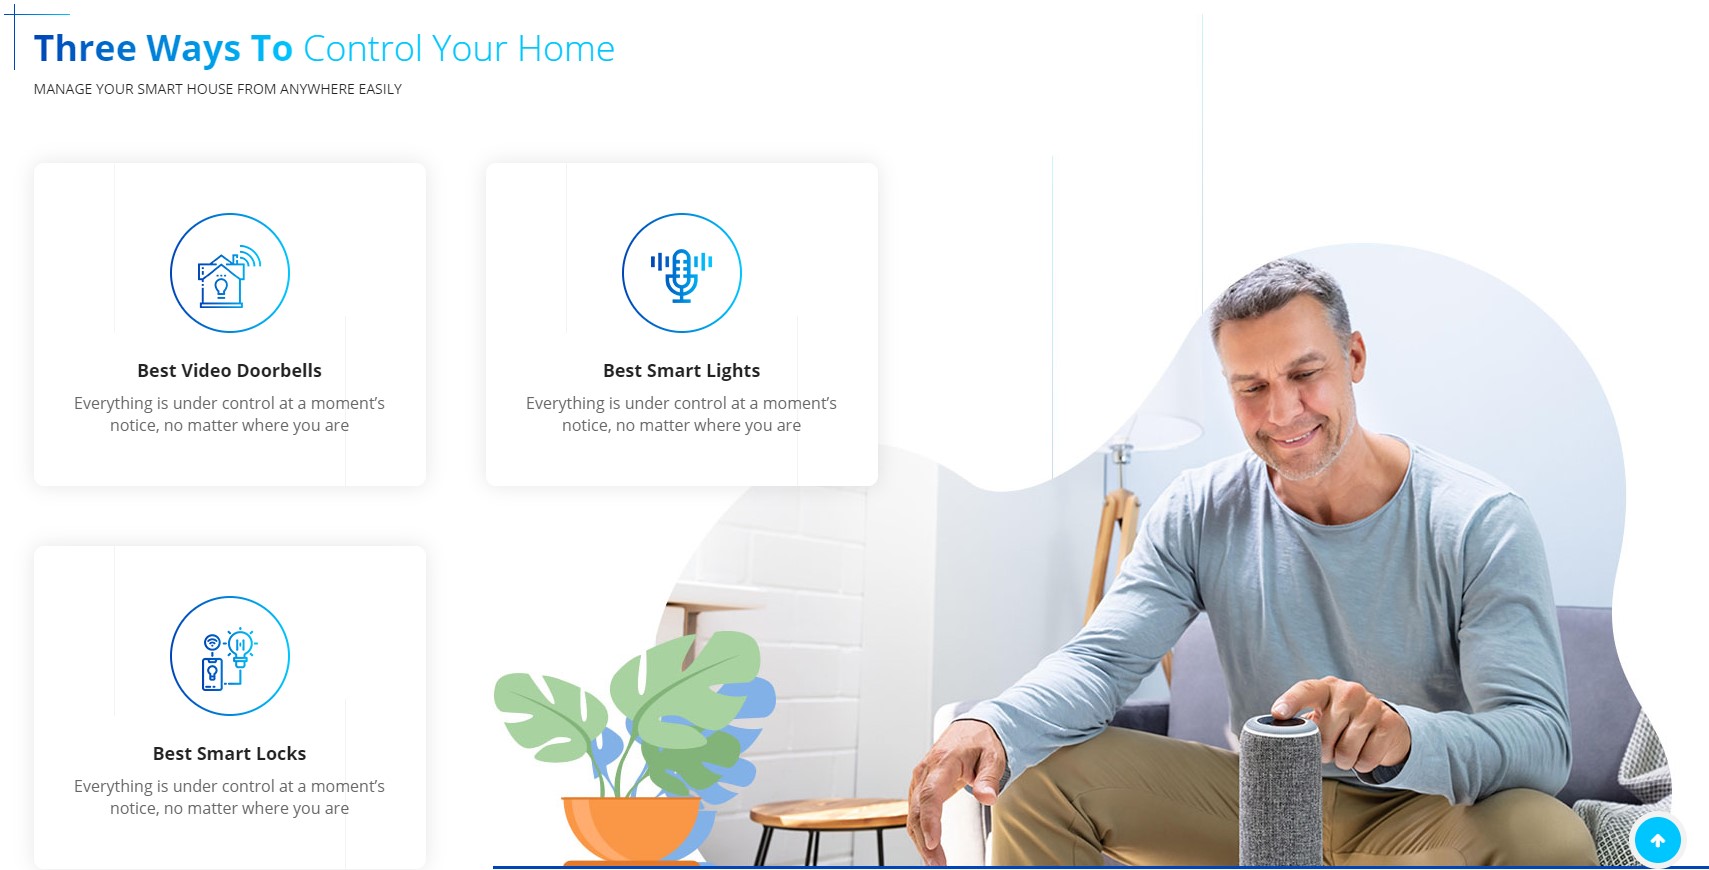
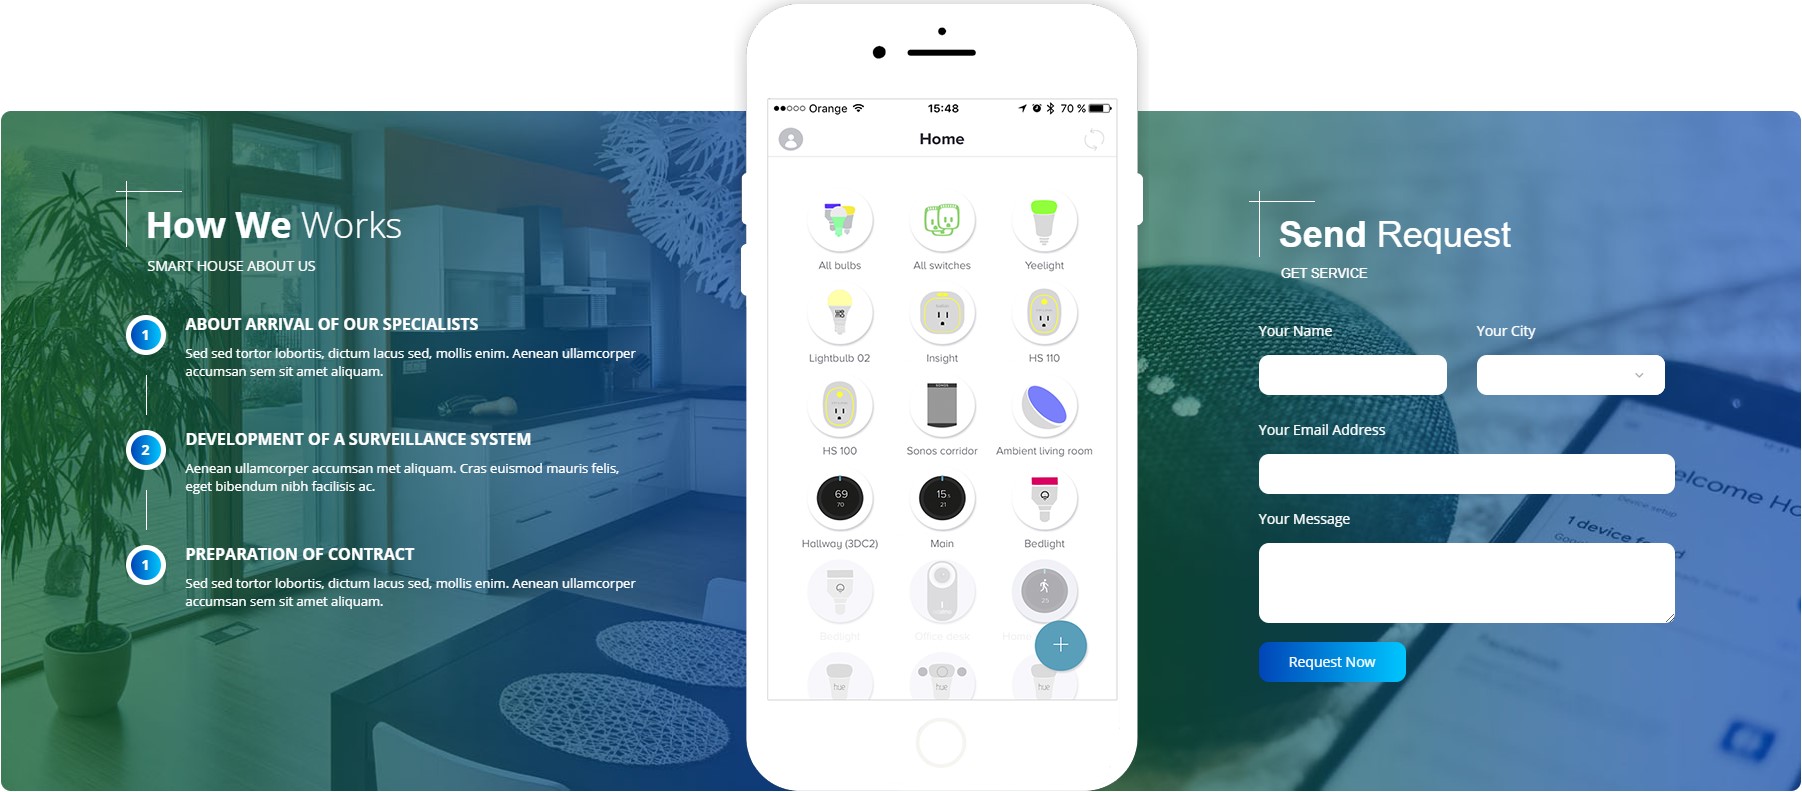
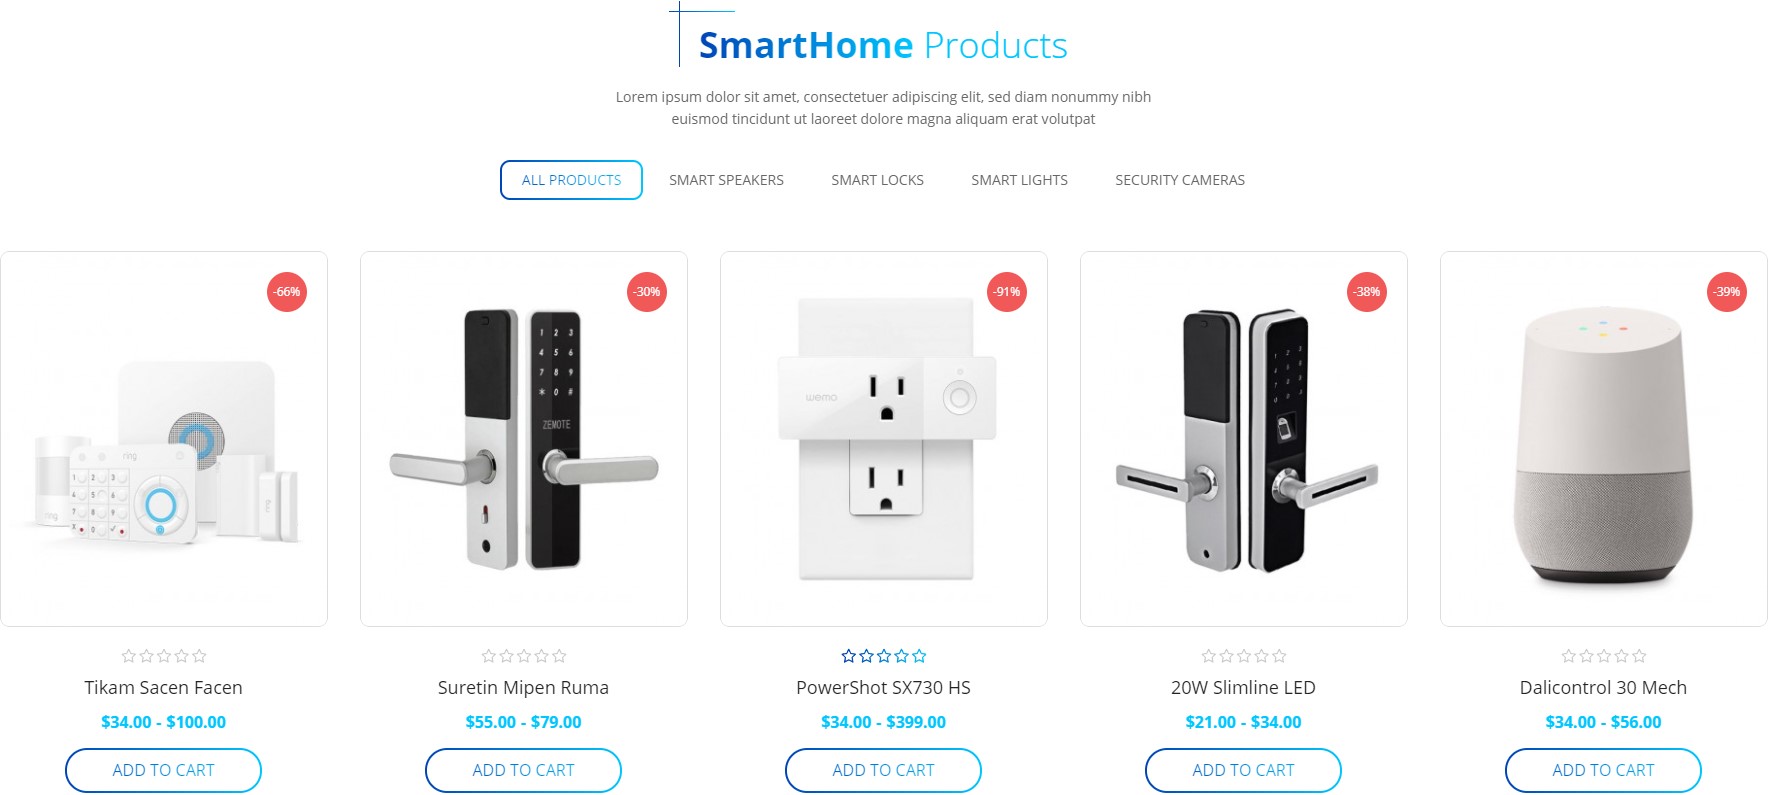
To help you about language problem when you work with SJ Template, please read this post: how to set up a multilingual site in SJ Template.

Position Layout


Go to Extensions => Template Manager => Sj SmartHome. All of parameters of this template are divided into the following groups, in which they are explained themselves:


Header Configuration

1. Logo position

Frontend Appearance

To configure Logo, please go to Extensions => Templates => sj-smarthome => Basic Tab => Logo

Backend Settings: Logo

2. Menu position

Frontend Appearance

Menu

please go to Extensions >> Styles Manager >>Click "Edit" button to templates >> Select "Sj_Cryptoz"- Default to select your menu.

Backend Settings: Navigation tab

3. User1 position

Frontend Appearance

3.1. please go to Extensions => Module Manager => Click New button to create a new module => Select SJ Search Pro for VirtueMart module.

  • Backend Settings: Module/ Image Options/ Advanced
  • Copy & Paste the class suffix " searchpro" into the option "Module Class Suffix" of the Avandced tab

    3.2. please go to Extensions => Module Manager => Click New button to create a new module => Select Login module.

  • Backend Settings: Module/ Advanced
  • Copy & Paste the class suffix " mod-login" into the option "Module Class Suffix" of the Avandced tab

    3.3. please go to Extensions >> Module Manager >>Click "New" button to create a new module >> Select "SJ Minicart Pro for Virtuemart" module.

  • Backend Settings: Module/ Layout options/ Advanced
  • Copy & Paste the class suffix " mod-login" into the option "Module Class Suffix" of the Avandced tab

    Section2

    4. Position2

    Frontend Appearance

    To configure this module,please go to Extensions >> Module Manager >>Click "New" button to create a new module >> Select "Custom" module.

    Backend Settings: Module

    Copy & Paste the code into your editor:

    <div class="block-hot-cate">
    <div class="module-title"><b>Browse by</b> Category
    <p class="module-des">MANAGE YOUR SMART HOUSE FROM ANYWHERE EASILY</p>
    </div>
    <div class="owl-carousel owl-theme">
    <div class="item border-gradient">
    <div class="image-cat"><a href="#"><img src="images/smarthome/cate1.jpg" alt="" /></a></div>
    <div class="title-cat"><a href="#">Best Video Doorbells</a></div>
    </div>
    <div class="item border-gradient">
    <div class="image-cat"><a href="#"><img src="images/smarthome/cate2.jpg" alt="" /></a></div>
    <div class="title-cat"><a href="#">Best Smart Lights</a></div>
    </div>
    <div class="item border-gradient">
    <div class="image-cat"><a href="#"><img src="images/smarthome/cate3.jpg" alt="" /></a></div>
    <div class="title-cat"><a href="#">Best Smart Speakers</a></div>
    </div>
    <div class="item border-gradient">
    <div class="image-cat"><a href="#"><img src="images/smarthome/cate4.jpg" alt="" /></a></div>
    <div class="title-cat"><a href="#">Best Robot Vacuum Cleaners</a></div>
    </div>
    <div class="item border-gradient">
    <div class="image-cat"><a href="#"><img src="images/smarthome/cate5.jpg" alt="" /></a></div>
    <div class="title-cat"><a href="#">Best Security Cameras</a></div>
    </div>
    <div class="item border-gradient">
    <div class="image-cat"><a href="#"><img src="images/smarthome/cate6.jpg" alt="" /></a></div>
    <div class="title-cat"><a href="#">Best Smart Locks</a></div>
    </div>
    </div>
    </div>			
    					

    Section3

    5. Position3

    Frontend Appearance

    To configure this module,please go to Extensions >> Module Manager >>Click "New" button to create a new module >> Select "Custom" module.

    Backend Settings: Module

    Copy & Paste the code into your editor:

    <div class="block-control">
    <h3 class="module-title"><b>Three Ways to</b> Control Your Home</h3>
    <p class="module-des">MANAGE YOUR SMART HOUSE FROM ANYWHERE EASILY</p>
    <div class="block-control-wap">
    <div class="block-control-inner">
    <div class="item">
    <div class="item-inner">
    <div class="image-control"><a href="#"><img src="images/smarthome/control1.png" alt="" /></a></div>
    <div class="title-control"><a href="#">Best Video Doorbells</a></div>
    <p>Everything is under control at a moment’s notice, no matter where you are</p>
    </div>
    </div>
    <div class="item">
    <div class="item-inner">
    <div class="image-control"><a href="#"><img src="images/smarthome/control2.png" alt="" /></a></div>
    <div class="title-control"><a href="#">Best Smart Lights</a></div>
    <p>Everything is under control at a moment’s notice, no matter where you are</p>
    </div>
    </div>
    <div class="item">
    <div class="item-inner">
    <div class="image-control"><a href="#"><img src="images/smarthome/control3.png" alt="" /></a></div>
    <div class="title-control"><a href="#">Best Smart Locks</a></div>
    <p>Everything is under control at a moment’s notice, no matter where you are</p>
    </div>
    </div>
    </div>
    </div>
    </div>			
    					

    Section4

    6. Position4

    Frontend Appearance

    Backend Settings

    please go to Components => Contacts => Click New button to create a new => Contacts.

    Then please go to Extensions => Module Manager => Click New button to create a new module => Select SJ Contact Ajax module.

  • Backend Settings: Module/ Captcha Options/ Maps Options/ Advanced
  • Note enter pre-text in Advanced tab:

    					<h3 class="module-title"><b>Send</b> Request</h3>
    <p class="module-des">Get service</p>
    					

    Section5

    7. Position5

    Frontend Appearance

    Backend Settings

    please go to Extensions => Module Manager => Click New button to create a new module => Select SJ Listing Tabs for VirtueMart module.

  • Backend Settings: Module/ Source Options/ Tab Options/ Product Options/ Image Options/ Effects Options/ Advanced
  • Section6

    8. Position6

    Frontend Appearance

    To configure this module,please go to Extensions >> Module Manager >>Click "New" button to create a new module >> Select "Custom" module.

    Backend Settings: Module

    Copy & Paste the code into your editor:

    <div class="block-video">
    <h3 class="module-title"><b>Watch Video</b> Introductions</h3>
    <p class="module-des">Lorem ipsum dolor sit amet, consectetuer adipiscing elit, sed diam nonummy nibh euismod tincidunt ut laoreet dolore magna aliquam erat volutpat</p>
    <div>[yt_lightbox yt_title="" align="none" type="none" style="none" src="images/smarthome/bg-video.png" video_addr="https://www.youtube.com/watch?v=eMvIn6R0TPU" width="1190px" height="600px" lightbox="yes" description="" ]</div>
    </div>			
    					

    Note: enable "Prepare Content" option in Options tab of module.

    Section7

    9. Position7

    Frontend Appearance

    To configure this module,please go to Extensions >> Module Manager >>Click "New" button to create a new module >> Select "Custom" module.

    Backend Settings: Module

    Copy & Paste the code into your editor:

    <div class="block-systems">
    <h3 class="module-title"><b>Home Security</b> Systems</h3>
    <p class="module-des">MANAGE YOUR SMART HOUSE FROM ANYWHERE EASILY</p>
    <div class="block-systems-wap">
    <p>Lorem ipsum dolor sit amet, consectetuer adipiscing elit, sed diam nonummy nibh euismod tincidunt ut laoreet dolore magna aliquam erat volutpat. Ut wisi enim ad minim veniam, quis nostrud exerci tation ullamcorper.</p>
    <div class="block-systems-inner row">
    <div class="item col-lg-4 col-md-4 col-sm-4 col-xs-12">[yt_counter count_start="0" count_end="8" counter_speed="10" prefix="0" suffix="+" separator="yes" align="left" background="transparent" border_radius="5px" icon="" icon_color="#444" count_color="#444444" count_size="50px" text_color="#666666" text_size="18px" border="2px solid transparent" ] Years of experience [/yt_counter]</div>
    <div class="item col-lg-4 col-md-4 col-sm-4 col-xs-12">[yt_counter count_start="0" count_end="1868" counter_speed="5" prefix="" suffix="" separator="yes" align="left" background="transparent" border_radius="5px" icon="" icon_color="#444" count_color="#444444" count_size="50px" text_color="#666666" text_size="18px" border="2px solid transparent" ] Satisfied Customers [/yt_counter]</div>
    <div class="item col-lg-4 col-md-4 col-sm-4 col-xs-12">[yt_counter count_start="0" count_end="868" counter_speed="5" prefix="" suffix="" separator="yes" align="left" background="transparent" border_radius="5px" icon="" icon_color="#444" count_color="#444444" count_size="50px" text_color="#666666" text_size="18px" border="2px solid transparent" ] Systems Installed [/yt_counter]</div>
    </div>
    </div>
    </div>			
    					

    Note: enable "Prepare Content" option in Options tab of module.

    Section8

    10. Position8

    Frontend Appearance

    Backend Settings

    lease go to Extensions => Module Manager => Click New button to create a new module => Select SJ Deals for VirtueMart module.

  • Backend Settings: Module/ Source Options/ Product Options/ Category Options/ Image Options/ Effects Options/ Advanced
  • Note "Title module" in Product Options tab use the code html below:

    					<h3 class="module-title"><b>Hot deal</b> Products</h3><p class="module-des">Lorem ipsum dolor sit amet, consectetuer adipiscing elit, sed diam nonummy nibh euismod tincidunt ut laoreet dolore magna aliquam erat volutpat</p>	
    					

    Section9

    11. Position9

    Frontend Appearance

    please go to Extensions >> Module Manager >>Click "New" button to create a new module >> Select "Custom" module.

    Backend Settings: Module

    Copy & Paste the code into your editor:

    <div class="banners block-homebanner">
    <div class="row">
    <div class="item col-xl-6 col-lg-12 col-sm-12 col-xs-12">
    <div class="item-image"><a href="#"><img src="images/smarthome/banner-1.jpg" alt="image" /></a></div>
    <div class="item-text">
    <h3 class="bn-title">Ring Alarm Home</h3>
    <p class="bn-des">Lorem ipsum dolor sit amet, consectetuer adipiscing elit sed diam nonummy.</p>
    <div class="item-link"><a href="#">Read more</a></div>
    </div>
    </div>
    <div class="item col-xl-6 col-lg-12 col-sm-12 col-xs-12">
    <div class="item-image"><a href="#"><img src="images/smarthome/banner-2.jpg" alt="image" /></a></div>
    <div class="item-text">
    <h3 class="bn-title">Amazon Speaker</h3>
    <p class="bn-des">Lorem ipsum dolor sit amet, consectetuer adipiscing elit sed diam nonummy.</p>
    <div class="item-link"><a href="#">Read more</a></div>
    </div>
    </div>
    </div>
    </div>			
    					

    Section10

    12. Position10

    Frontend Appearance

    Backend Settings

    please go to Extensions => Module Manager => Click New button to create a new module => Select Sj Content Mega Slider module.

  • Backend Settings: Module/ Source Options/ Item Options/ Navigation Options/ Image Options/ Effects Options/ Advanced
  • Section11

    13. Position11

    Frontend Appearance

    Backend Settings

    please go to Extensions => Module Manager => Click New button to create a new module => Select AcyMailing Module module.

  • Backend Settings: Module/ Advanced
  • Note "Intro Text" in Module tab use the code html below:

    					<h3 class="module-title"><b>Newsletter</b> Subscribe</h3>
    <p>Lorem ipsum dolor sit amet, consectetuer adipiscing elit, sed diam nonummy nibh euismod tincidunt ut laoreet dolore magna aliquam erat volutpat</p>
    					

    Bottom Section

    14. Bottom1 position

    Frontend Appearance

    please go to Extensions >> Module Manager >>Click "New" button to create a new module >> Select "Custom" module.

    Backend Settings: Module

    Copy & Paste the code into your editor:

    <div class="contact-footer"><img src="images/smarthome/logo.png" alt="footer" />
    <p>Lorem ipsum dolor sit amet, consectetuer adipiscing elit, sed diam nonummy nibh euismod tincidunt ut laoreet dolore magna aliquam erat volutpat</p>
    <div class="hotline">
    <div class="inner">Hotline: (+123) 456 7890</div>
    </div>
    <ul class="socials">
    <li class="facebook"><a href="https://www.facebook.com/SmartAddons.page" target="_blank" rel="noopener noreferrer"><i class="fa fa-facebook">Facebook</i></a></li>
    <li class="twitter"><a href="https://twitter.com/smartaddons" target="_blank" rel="noopener noreferrer"><i class="fa fa-twitter">Twitter</i></a></li>
    <li class="instagram"><a href="#" target="_blank" rel="noopener noreferrer"><i class="fa fa-instagram">instagram</i></a></li>
    <li class="youtube"><a href="#" target="_blank" rel="noopener noreferrer"><i class="fa fa-youtube-play">Youtube</i></a></li>
    </ul>
    <p>We are with you in your need! Stay with us.</p>
    </div>			
    					

    15. Bottom2

    Frontend Appearance

    please go to Extensions >> Module Manager >>Click "New" button to create a new module >> Select "Menu" module.

    Backend Settings: Module

    16. Bottom3

    Frontend Appearance

    please go to Extensions >> Module Manager >>Click "New" button to create a new module >> Select "Menu" module.

    Backend Settings: Module

    17. Bottom4

    Frontend Appearance

    please go to Extensions >> Module Manager >>Click "New" button to create a new module >> Select "Menu" module.

    Backend Settings: Module

    Footer Section

    18. Footer1 Position

    Frontend Appearance

    18.1. please go to Extensions => Templates => sj-smarthome => Basic Tab => Footer

    Backend Settings: Template

    please go to Extensions >> Module Manager >>Click "New" button to create a new module >> Select "Custom" module.

    Backend Settings: Module

    Copy & Paste the code into your editor:

    	<p><a href="#"><img src="images/smarthome/payment.png" alt="payment" /></a></p>			


    1. Create new SP Page Builder

    Please go to Components => SP Page Builder => Click New button => Enter the Title: Home Page

    Please go to Menus => Main menu => Click New button => Enter the Title: Home Page. Select "SP Page Builder ยป Page: home page"

    Backend Settings

    Thank you so much for purchasing this template. If you have any questions that are beyond the scope of this help file, please send us via: Submit a Ticket

    Thanks so much!