SJ Resort II
- created: 05/10/2017
- by: SmartAddons
- email: contact@ytcvn.com
SJ Resort II - Resort and Hotel Joomla Template is specially designed for resort, accommodation, bed and breakfast and any type of Hotel Business who offer accommodation related services. Sj Resort II comes with a beautiful and unique design that will dynamically fit for your online web presence.
System Requirements – Joomla version 3.x
System Requirements: here
Component Requirements
DOWNLOAD
Download Packages from our store: here
Helix3 - Framework
This template uses Helix3 - Framework . You can refer to the Helix3 function: here
Install with Quickstart Package
By using this package, you will see your website exactly as our Demo with sample data. This is applied when you need a fresh Joomla with our template
The following steps will guide to install a quickstart package of SmartAddons Joomla Template: Click hereInstall with Template and Extensions
To install Template for Joomla, please click: here
The extensions package include of Modules, Components and Plugins.
Note: Extensions installation is the same with Template installation as above
Enable Modules and Plugins: here
To Install SP Page Builder Component, you can follow these steps:
Step 1: Please go to Extensions => Extension Manager
Step 2: Choose file SP Page Builder.zip that you have downloaded and then Click on the button Upload & Install to install the uploaded package.
Install multilingual site in SJ Template
To help you about language problem when you work with SJ Template, please read this post: how to set up a multilingual site in SJ Template.
Layout Position
Template Configuration
Go to Extensions => Template Manager => SJ Resort II. All of parameters of this template are divided into the following groups, in which they are explained themselves:
- Basic: backend settings
- Presets: backend settings
- Layout: backend settings
- Menu: backend settings
- Typography: backend settings
- Advanced: backend settings
- Blog: backend settings
Header, Footer Configuration
Header Configuration
1. Top1
Frontend Appearance

Language
To configure Language, please go to Extensions >> Module Manager >> Click "New" button to create a new module >> Select "Language Switcher" module
Header Hotline
To configure Header Hotline, please go to Extensions >> Module Manager >> Click "New" button to create a new module >> Select "Custom" module
Copy & Paste the code into your editor:
<div class="hotline"><a href="tel:0123456789">Hotline: 0123 - 456 - 789</a></div>
2. Top2
Frontend Appearance

Help
To configure Help, please go to Extensions >> Module Manager >> Click "New" button to create a new module >> Select "Menu" module
Login
To configure Login, please go to Extensions >> Module Manager >> Click "New" button to create a new module >> Select "Login" module
Footer Configuration
1. Sign Up For Exclusive Email-only Coupons
Frontend Appearance

Module: AcyMailing Module
To configure this module,please go to Extensions >> Module Manager >>Click "New" button to create a new module >> Select "AcyMailing Module" module.
2. Footer Infos
Frontend Appearance

Module: Custom
To configure this module,please go to Extensions >> Module Manager >>Click "New" button to create a new module >> Select "Custom" module.
Copy & Paste the code into your editor:
<div class="footer-infos"><img src="images/logo-footer.png" alt="image" />
<p>Lorem ipsum dolor sit amet, consectetur adipiscing elit, sed do eiusmod tempor ut labore et dolore magna aliqua. Ut enim ad minim veniam, quis nostrud exerci tation ullamco laboris nisi ut aliquip ex ea commo do.</p>
<ul class="socials">
<li class="facebook"><a href="https://www.facebook.com/smartaddons"> <i class="fa fa-facebook">Facebook</i></a></li>
<li class="twitter"><a href="https://twitter.com/smartaddons"> <i class="fa fa-twitter">Twitter</i></a></li>
<li class="google"><a href="https://plus.google.com/u/0/+Smartaddons"> <i class="fa fa-google-plus">Google</i></a></li>
<li class="pinterest"><a class="_blank" href="https://www.pinterest.com/smartaddons/" target="_blank" rel="noopener noreferrer"><i class="fa fa-pinterest">Pinterest</i></a></li>
</ul>
</div>
3. Footer Top cities
Frontend Appearance

Module: Custom
To configure this module,please go to Extensions >> Module Manager >>Click "New" button to create a new module >> Select "Custom" module.
Copy & Paste the code into your editor:
<div class="footer-links fl1">
<div class="f-title">Top cities</div>
<ul>
<li><a href="#">Halong Bay</a></li>
<li><a href="#">Quang Ninh</a></li>
<li><a href="#">Bangkok</a></li>
<li><a href="#">Barcelona</a></li>
<li><a href="#">Maldives</a></li>
<li><a href="#">Havana</a></li>
<li><a href="#">Nha Trang</a></li>
<li><a href="#">Camranh Bay</a></li>
</ul>
</div>
4. Footer Top resort
Frontend Appearance

Module: Custom
To configure this module,please go to Extensions >> Module Manager >>Click "New" button to create a new module >> Select "Custom" module.
Copy & Paste the code into your editor:
<div class="footer-links fl2">
<div class="f-title">Top Resort</div>
<ul>
<li><a href="#">Metropole</a></li>
<li><a href="#">Riverside Boutique</a></li>
<li><a href="#">Setha Palace</a></li>
<li><a href="#">Thansur Bokor Highland</a></li>
<li><a href="#">The Imperial</a></li>
<li><a href="#">Sheraton</a></li>
<li><a href="#">Renaissance</a></li>
<li><a href="#">Saigon Morin</a></li>
</ul>
</div>
5. Footer contact us
Frontend Appearance

Module: Custom
To configure this module,please go to Extensions >> Module Manager >>Click "New" button to create a new module >> Select "Custom" module.
Copy & Paste the code into your editor:
<div class="infos-footer box-footer">
<div class="f-title">Contact Us</div>
<ul>
<li class="adres"><i class="fa fa-home ">1</i> <b>Office 1</b> : 123 Suspendis mattis, Sollicit District, NY Accums Fringilla<br /> <b>Office 2</b> : No 40 Baria, youtech building Sreet 133/2 NewYork City NY, United States</li>
<li class="mail"><i class="fa fa-envelope">2</i> <b>Email</b> : support@domain.com</li>
<li class="phonee"><i class="fa fa-phone ">3</i> <b>Hotline</b> : 0123-456-78910<br /> 0987-765-43210</li>
</ul>
</div>
6. Menu Footer
Frontend Appearance

Module: Menu
To configure this module,please go to Extensions >> Module Manager >>Click "New" button to create a new module >> Select "Menu" module.
Slider Settings
1. Create new SP Page Builder
Please go to Components => SP Page Builder => Click New button => Enter the Title: Home Page
Backend Settings

To create new rows of Home Page, please click " Add new Row" button
Example: Create a new row
General Tab: backend settings
Style Tab: backend settings
Responsive Tab: backend settings
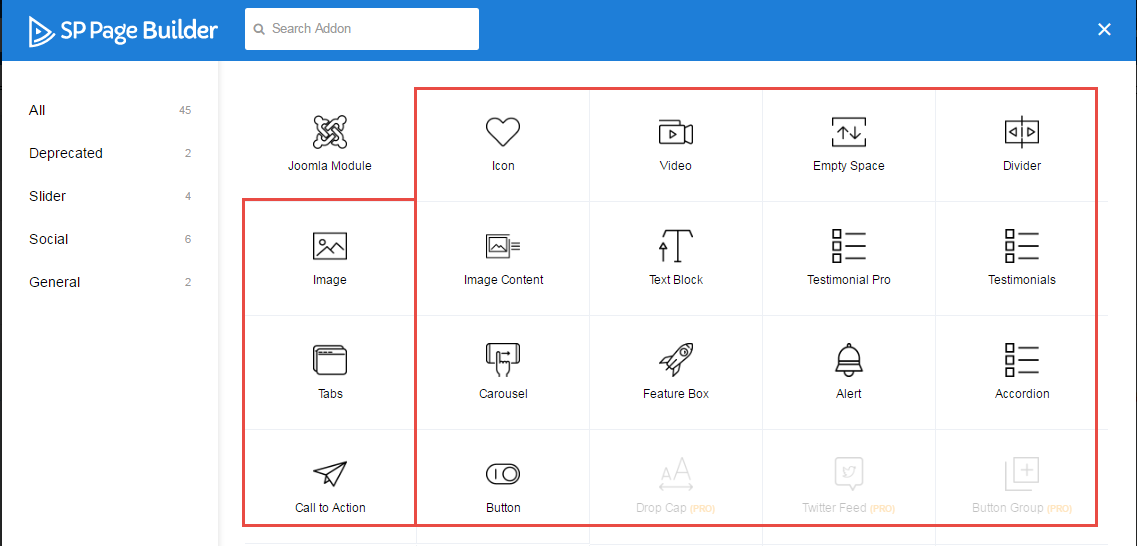
To create new rows, please click " Add new Addon" button

To configure Addon, We have 2 options
Options 1: Click "Joomla Module" then please fill General Tab
General Tab: backend settings
Note: To create new Joomla module, example Custom HTML, please go to Extensions => Module Manager => Click New button to create a new module => Select HTML module.
Options 2: Click "Shortcode" then please fill General Tab
2. Row1 Configuration - SJ Slideshow II for SobiPro
Frontend Appearance
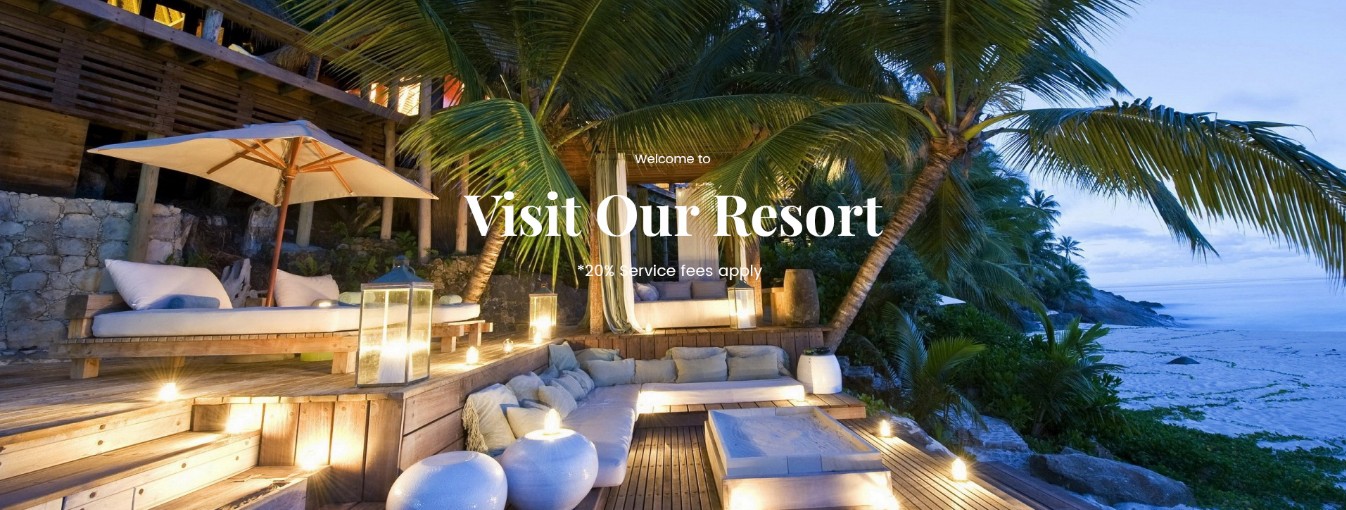
To configure Row1, please go toSP Page Builder => Click Edit Addon button
Backend Settings

- Screenshot Backend Settings: General/ Style/ Responsive
Note: To create new Joomla module - SJ SlideshowII for SobiPro module, please go to Extensions => Module Manager => Click New button to create a new module => Select SJ SlideshowII for SobiPro module.
3. Row2 Configuration - SJ Search for SobiPro
Frontend Appearance

To configure Row2, please go toSP Page Builder => Click Edit Addon button
Backend Settings

- Screenshot Backend Settings: General/ Style/ Responsive
Note: To create new Joomla module - SJ Search for SobiPro module, please go to Extensions => Module Manager => Click New button to create a new module => Select SJ Search for SobiPro module.
4. Row3 Configuration - SJ Extra Slider for SobiPro
Frontend Appearance
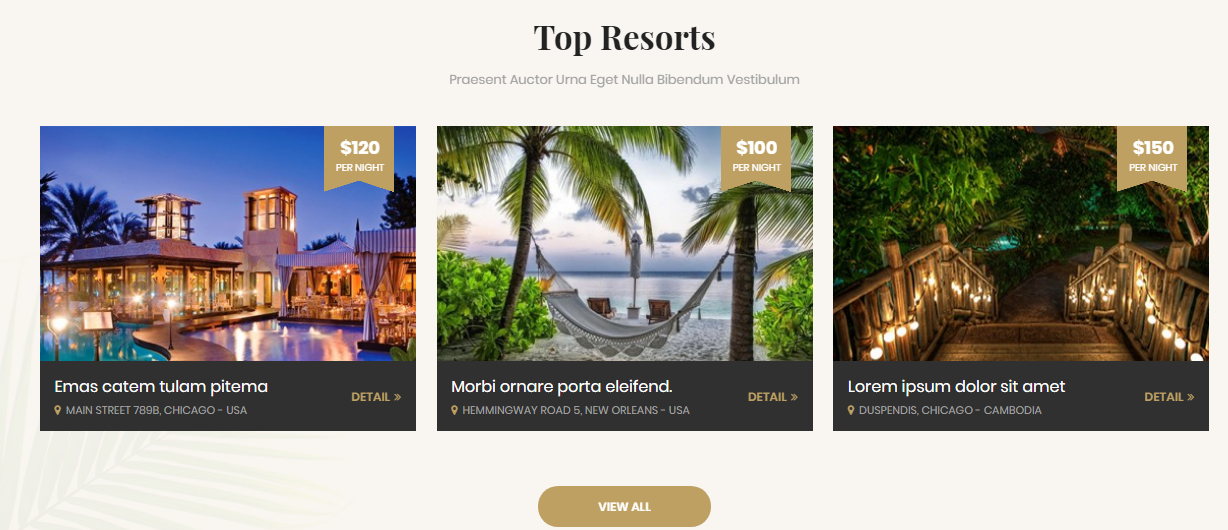
To configure Row3, please go toSP Page Builder => Click Edit Addon button
Backend Settings

Note: To create new Joomla module - SJ Extra Slider for SobiPro, please go to Extensions => Module Manager => Click New button to create a new module => Select SJ Extra Slider for SobiPro module.
- Backend Settings: Module/ Source Options/ Field Options/ Entry Options/ Image Options/ Effect Options/ Advanced Options
5. Row4 Configuration - SJ Categories for SobiPro
Frontend Appearance
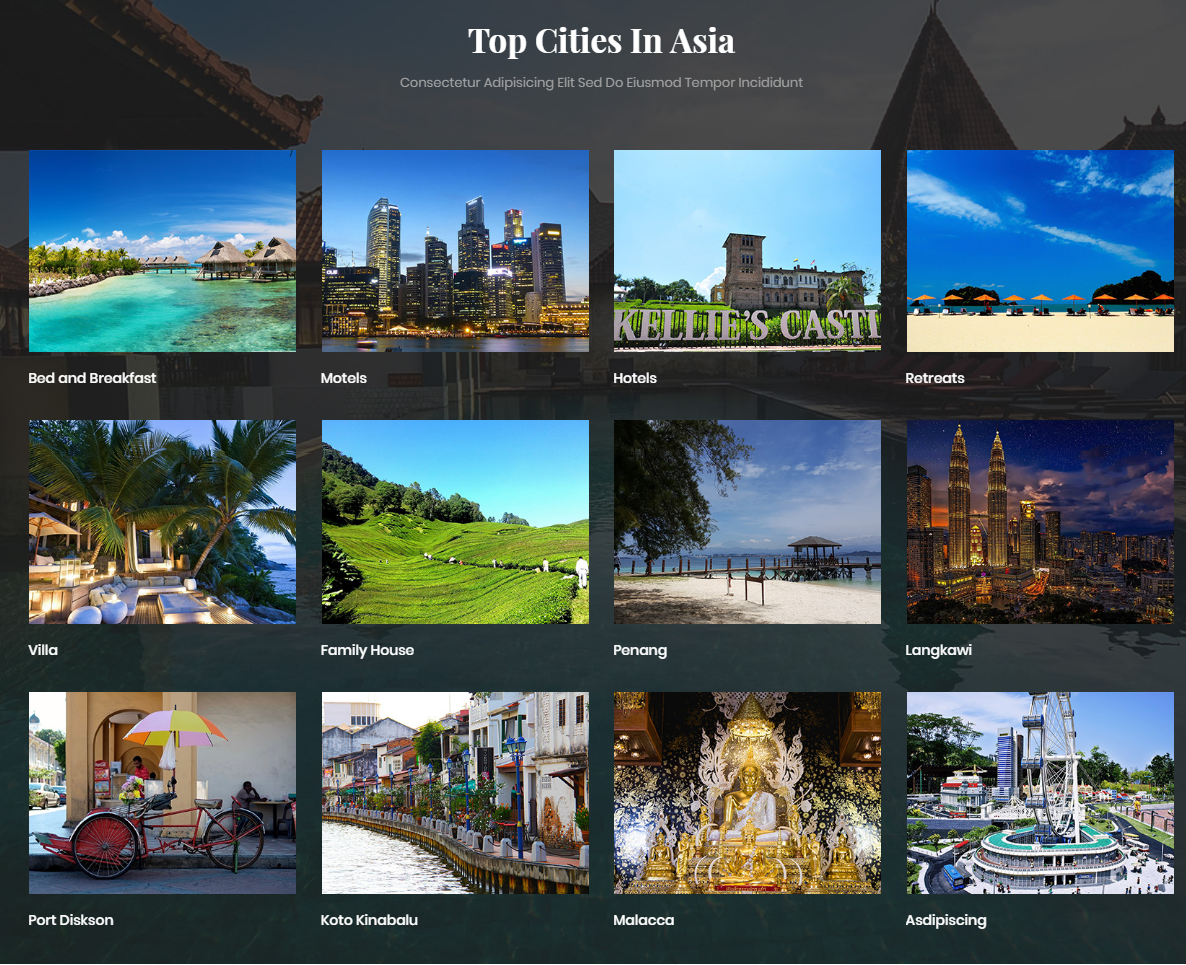
To configure Row4, please go toSP Page Builder => Click Edit Addon button
Backend Settings

Note: To create new Joomla module - SJ Categories for SobiPro module, please go to Extensions => Module Manager => Click New button to create a new module => Select SJ Categories for SobiPro module.
6. Row5 Configuration - Html Resort Counter
Frontend Appearance

To configure Row5, please go toSP Page Builder => Click Edit Addon button
Backend Settings

Note: To create new Joomla module - Custom module, please go to Extensions => Module Manager => Click New button to create a new module => Select Custom module.
Copy & Paste the code into your editor:
<div class="counter-wrap">
<div class="row">
<div class="maps box-maps col-lg-3 col-md-3 col-sm-3 col-xs-12">[yt_counter count_start="900" count_end="1250" counter_speed="5" prefix="" suffix="" separator="no" align="left" background="transparent" border_radius="0px" icon="images/homepage/icon1.png" icon_color="" count_color="#ffffff" count_size="30px" text_color="#ffffff" text_size="16px" border="0px solid #DDD" ]Resorts [/yt_counter]</div>
<div class="maps box-maps col-md-3 col-sm-3 col-xs-12">[yt_counter count_start="200" count_end="350" counter_speed="5" prefix="" suffix="" separator="no" align="left" background="transparent" border_radius="0px" icon="images/homepage/icon2.png" icon_color="" count_color="#ffffff" count_size="30px" text_color="#ffffff" text_size="16px" border="0px solid #DDD" ]Hourly Visitors [/yt_counter]</div>
<div class="maps box-maps col-md-3 col-sm-3 col-xs-12">[yt_counter count_start="200" count_end="550" counter_speed="5" prefix="" suffix="" separator="no" align="left" background="transparent" border_radius="0px" icon="images/homepage/icon3.png" icon_color="" count_color="#ffffff" count_size="30px" text_color="#ffffff" text_size="16px" border="0px solid #DDD" ]Destinations [/yt_counter]</div>
<div class="maps box-maps col-md-3 col-sm-3 col-xs-12">[yt_counter count_start="6000" count_end="7200" counter_speed="5" prefix="" suffix="" separator="no" align="left" background="transparent" border_radius="0px" icon="images/homepage/icon4.png" icon_color="" count_color="#ffffff" count_size="30px" text_color="#ffffff" text_size="16px" border="0px solid #DDD" ]Happy Clients [/yt_counter]</div>
</div>
</div>
7. Row6 Configuration - SJ Slideshow II for SobiPro
Frontend Appearance
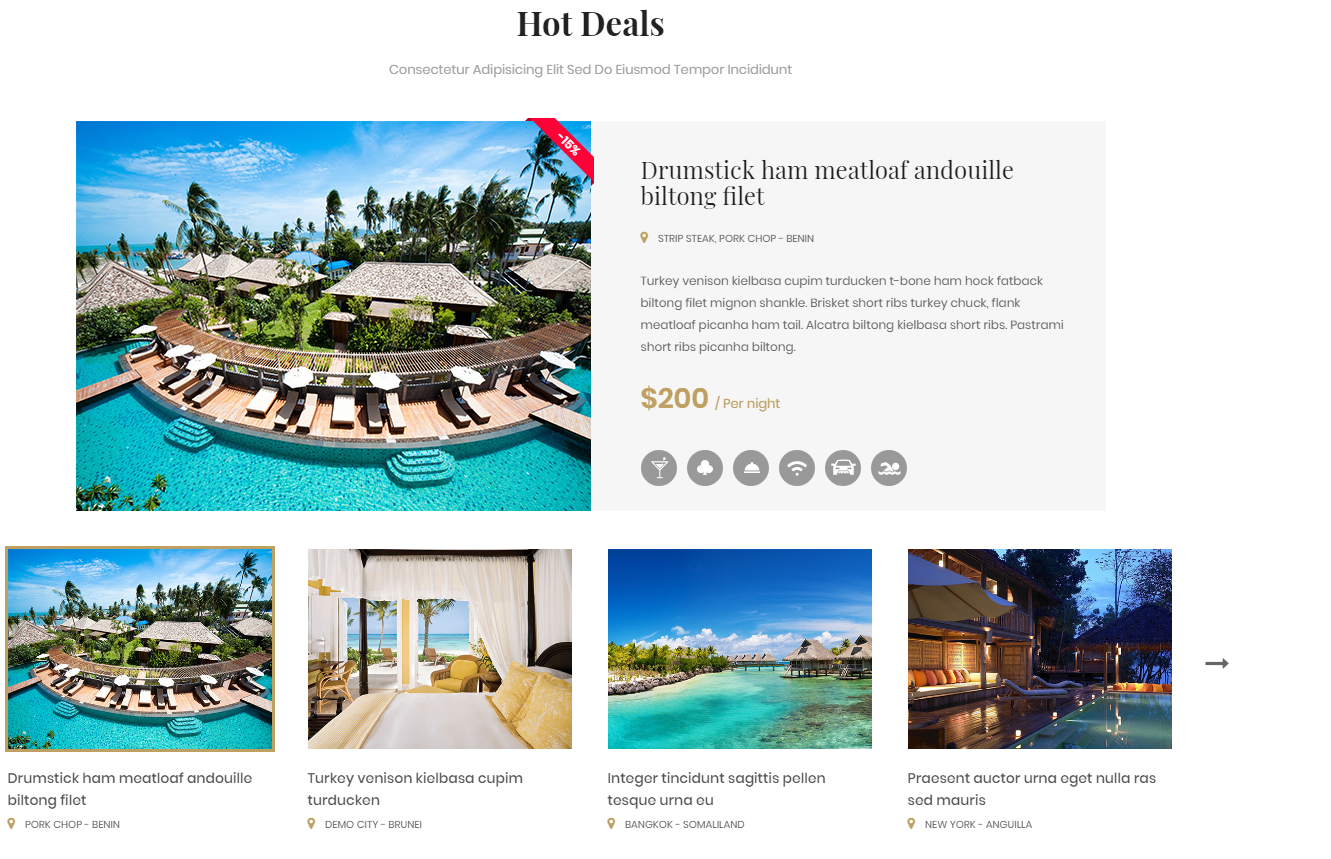
To configure Row6, please go toSP Page Builder => Click Edit Addon button
Backend Settings

Note: To create new Joomla module - SJ Slideshow II for SobiPro module, please go to Extensions => Module Manager => Click New button to create a new module => Select SJ Slideshow II for SobiPro module.
8. Row7 Configuration - Html banner
Frontend Appearance

To configure Row7, please go toSP Page Builder => Click Edit Addon button
Backend Settings

Note: To create new Joomla module - HTML, please go to Extensions => Module Manager => Click New button to create a new module => Select HTML module.
Copy & Paste the code into your editor:
<div class="banner-home"><a href="#"><img src="images/homepage/banner.jpg" alt="" /></a></div>
9. Row8 Configuration - Latest Blogs
Frontend Appearance
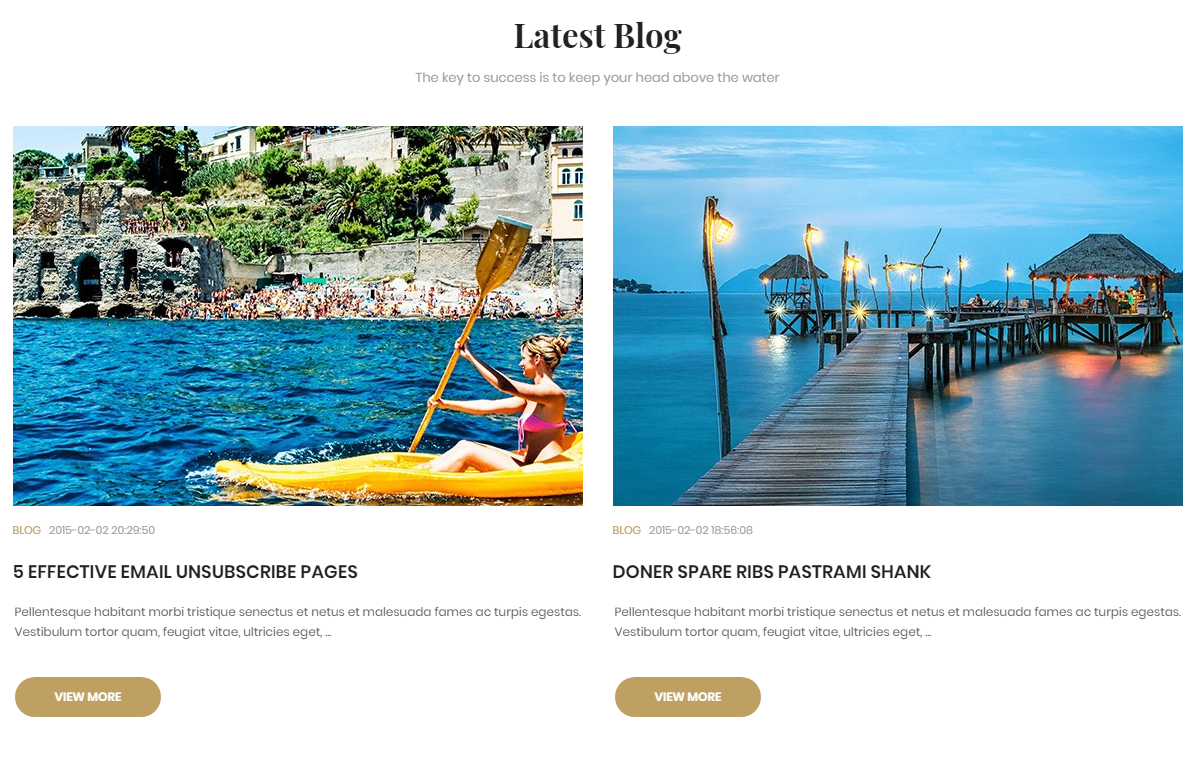
To configure Row8, please go toSP Page Builder => Click Edit Addon button
Backend Settings

Note: To create new Joomla module - Sj Basic News, please go to Extensions => Module Manager => Click New button to create a new module => Select Sj Basic News module.
10. Row8 Configuration - Latest Blogs
Frontend Appearance

To configure Row8, please go toSP Page Builder => Click Edit Addon button
Backend Settings

Note: To create new Joomla module - HTML, please go to Extensions => Module Manager => Click New button to create a new module => Select HTML module.
Copy & Paste the code into your editor:
<div class="custom ourcompany">
<div class="modtitle">
<h2>Our Company</h2>
<p>Consectetur adipisicing elit sed do eiusmod tempor incididunt</p>
</div>
<ul>
<li><a href="#"><img src="images/homepage/company/c1.jpg" alt="logo" /></a></li>
<li><a href="#"><img src="images/homepage/company/c2.jpg" alt="logo" /></a></li>
<li><a href="#"><img src="images/homepage/company/c3.jpg" alt="logo" /></a></li>
<li><a href="#"><img src="images/homepage/company/c4.jpg" alt="logo" /></a></li>
<li><a href="#"><img src="images/homepage/company/c5.jpg" alt="logo" /></a></li>
<li><a href="#"><img src="images/homepage/company/c6.jpg" alt="logo" /></a></li>
</ul>
</div>
11. Row9 Configuration - Html Testimonial
Frontend Appearance

To configure Row9, please go toSP Page Builder => Click Edit Addon button
Backend Settings

Note: To create new Joomla module - HTML, please go to Extensions => Module Manager => Click New button to create a new module => Select HTML module.
Copy & Paste the code into your editor:
<p>[yt_testimonial yt_title="" column="1" display_avatar="yes" border="1px none #fff" background="" title_color="#ccc" ] [yt_testimonial_item author="Mr. Kanla" position="American" avatar="images/homepage/user-1.jpg" ] “Lorem ipsum dolor sit amet, consectetur adipiscing elit, sed do eiusmod tempor incidi dunt ut labore et dolore magna aliqua. Ut enim ad minim veniam” [/yt_testimonial_item] [yt_testimonial_item author="Mr. David" position="Brazil" avatar="images/homepage/user-3.jpg" ] “In auctor ex id urna faucibus porttitor. Lorem ipsum dolor sit amet, consectetur adipiscing elit. In maximus ligula semper metus pellentesque mattis.” [/yt_testimonial_item] [yt_testimonial_item author="Ms. Jane" position="French" avatar="images/homepage/user-2.jpg" ] “Lorem ipsum dolor sit amet, consectetur adipiscing elit, sed do eiusmod tempor incidi dunt ut labore et dolore magna aliqua. Ut enim ad minim veniams” [/yt_testimonial_item] [/yt_testimonial]</p>
12. Row10 Configuration - Html Testimonial
Frontend Appearance

To configure Row10, please go toSP Page Builder => Click Edit Addon button
Backend Settings

Note: To create new Joomla module - HTML, please go to Extensions => Module Manager => Click New button to create a new module => Select HTML module.
Copy & Paste the code into your editor:
<div class="apps container">
<div class="inner">
<h3>download mobile apps</h3>
<p>Sed ut perspiciatis unde omnis iste natus error sit voluptatem accusantium doloremque laudantium</p>
<div class="rate"><img src="images/homepage/rating.png" alt="img" />(Average rating)</div>
<ul>
<li><a href="#"><img src="images/homepage/app1.png" alt="app" />Iphone or Ipad</a></li>
<li><a href="#"><img src="images/homepage/app2.png" alt="app" />Adroid</a></li>
</ul>
</div>
</div>
Copyright
To remove Designed by SmartAddons.Com at the footer of template, please purchase our Copyright Removal here
Support
Thank you so much for purchasing this template. If you have any questions that are beyond the scope of this help file, please send us via: Submit a Ticket
Thanks so much!
