Sj KidCourses


Sj KidCourses - Colorful Kindergarten and School Joomla Template

System Requirements: here

SP Page Builder Component

K2 Component

Download Packages from our store: here

This template uses Helix3 - Framework . You can refer to the Helix3 function: here

By using this package, you will see your website exactly as our Demo with sample data. This is applied when you need a fresh Joomla with our template

The following steps will guide to install a quickstart package of SmartAddons Joomla Template: Click here
1. Install Template

To install Template for Joomla, please click: here

2. Install Extensions

The extensions package include of Modules, Components and Plugins.

Note: Extensions installation is the same with Template installation as above

Enable Modules and Plugins: here

3. Install Component

To Install SP Page Builder Component, K2 Component, VirtueMart Component, you can follow these steps:

Step 1: Please go to Extensions => Extension Manager

Step 2: Choose file SP Page Builder.zip that you have downloaded and then Click on the button Upload & Install to install the uploaded package.

4. Enable Plugin

To Install Plugin System - Helix Ultimate Framework, you can follow these steps:

Step 1: Please go to Extensions => Plugins

Step 2: Choose filter system and then Click on the button Enable & Plugin System - Helix Ultimate Framework.

5. Import Json

To Install Template, you can follow these steps:

Step 1: Please go to Extensions => Templates

Step 2: Choose Styles sj_cryptoz - Default and then Click on the button Template & Options to advanced and choose the Import Settings.

Step 3: Download: file json and open & copy

Step 4: Advanced tab Import & Export and then Save

To help you about language problem when you work with SJ Template, please read this post: how to set up a multilingual site in SJ Template.

Position Layout


Go to Extensions => Template Manager => SJ Cryptoz. All of parameters of this template are divided into the following groups, in which they are explained themselves:


Header Configuration

1. Top2

Frontend Appearance

To configure this module,please go to Extensions >> Module Manager >>Click "New" button to create a new module >> Select "Custom " module.

Backend Settings: Module

Copy & Paste the code into your editor:

<ul class="socials">
<li class="facebook"><a class="_blank" href="http://www.facebook.com/SmartAddons.page" target="_blank" rel="noopener noreferrer"><i class="fa fa-facebook">facebook</i></a></li>
<li class="twitter"><a class="_blank" href="https://twitter.com/smartaddons" target="_blank" rel="noopener noreferrer"><i class="fa fa-twitter">twitter</i></a></li>
<li class="youtube"><a class="_blank" href="#" target="_blank" rel="noopener noreferrer"><i class="fa fa-youtube">youtube</i></a></li>
<li class="vimeo"><a class="_blank" href="#" target="_blank" rel="noopener noreferrer"><i class="fa fa-vimeo">vimeo</i></a></li>
</ul>					
					

Copy & Paste the class suffix " top-social" into the option "Module Class Suffix" of the Avandced tab

2. Logo

Frontend Appearance

To configure Logo, please go to Extensions => Templates => sj-kidcourse => Basic Tab => Logo

Backend Settings: Logo

4.Menu

Frontend Appearance

Menu

To configure the menu,please go to Extensions >> Styles Manager >>Click "Edit" button to templates >> Select "Sj_Cryptoz"- Default to select your menu.

Backend Settings: Navigation tab

5. Search

Frontend Appearance

To configure this module,please go to Extensions >> Module Manager >>Click "New" button to create a new module >> Select "Search" module.

Backend Settings: Module

Copy & Paste the class suffix " search-top" into the option "Module Class Suffix" of the Avandced tab

Frontend Appearance

To configure this module,please go to Extensions >> Module Manager >>Click "New" button to create a new module >> Select "SJ Minicart Pro for Virtuemart" module.

Backend Settings: Module

Copy & Paste the class suffix " block-cart" into the option "Module Class Suffix" of the Avandced tab

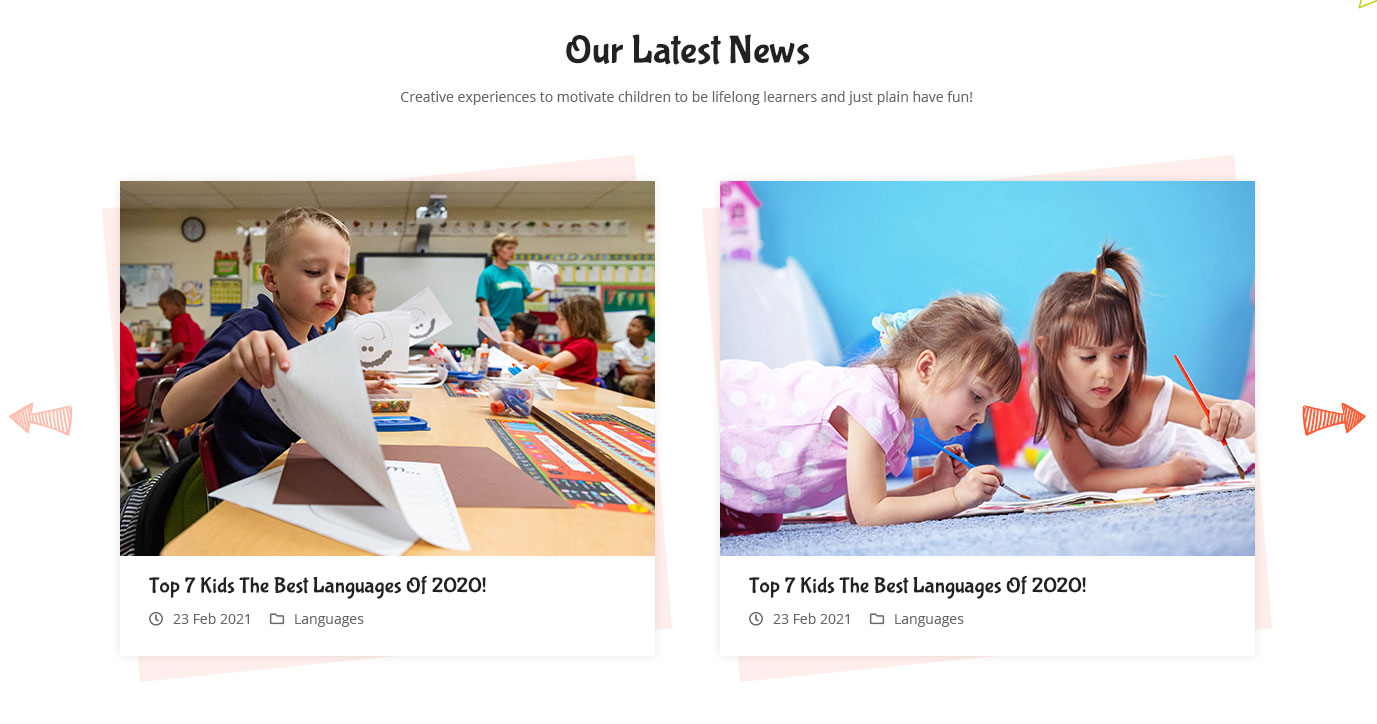
Position 1 Section

9. Position1

Frontend Appearance

To configure this module,please go to Extensions >> Module Manager >>Click "New" button to create a new module >> Select "K2 content" module.

Backend Settings: k2 content

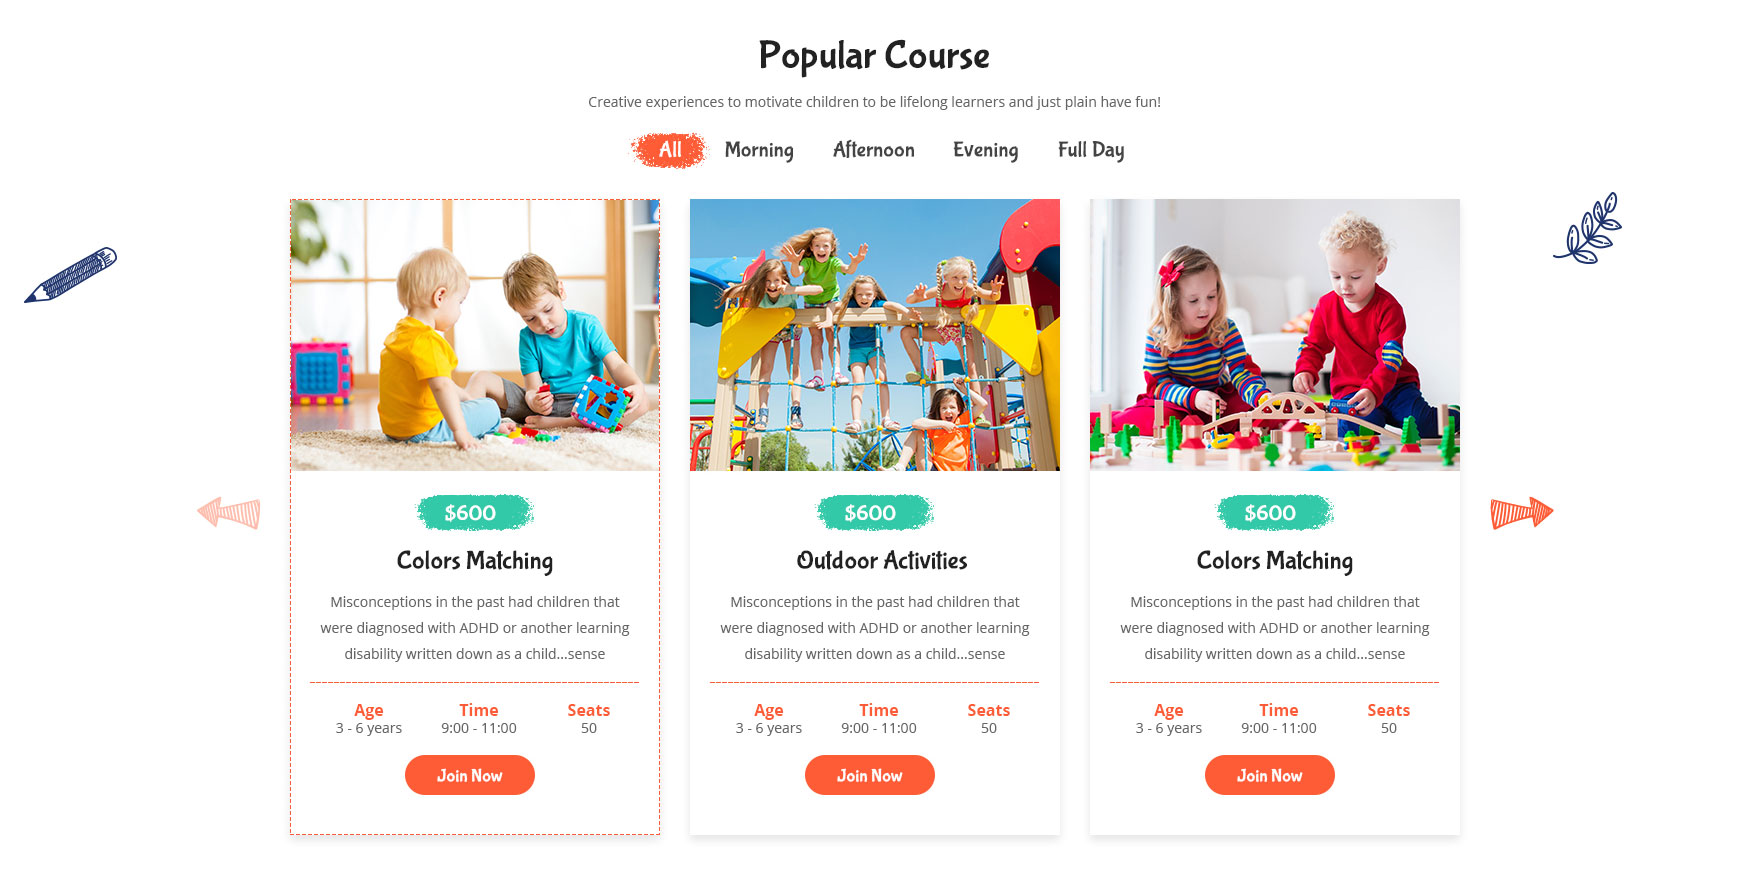
Position 2 Section

10. Position2

Frontend Appearance

To configure this module,please go to Extensions >> Module Manager >>Click "New" button to create a new module >> Select "K2 content" module.

Backend Settings: k2 content

Position 3 Section

11. Position3

Frontend Appearance

Backend Settings

Note: To create new Joomla module - SJ Extra Slider for VirtueMart, please go to Extensions => Module Manager => Click New button to create a new module => Select SJ Extra Slider for VirtueMart module.

  • Backend Settings: Module/ Source Options/ Item Options/ Image Options/ Effects Options/ Advanced
  • Position 4 Section

    10. Position2

    Frontend Appearance

    To configure this module,please go to Extensions >> Module Manager >>Click "New" button to create a new module >> Select "K2 content" module.

    Backend Settings: k2 content

    Position 5 Section

    10. Position2

    Frontend Appearance

    To configure this module,please go to Extensions >> Module Manager >>Click "New" button to create a new module >> Select "K2 content" module.

    Backend Settings: k2 content

    Position Gallery Section

    10. Position2

    Frontend Appearance

    To configure this module,please go to Extensions >> Module Manager >>Click "New" button to create a new module >> Select "K2 content" module.

    Backend Settings: k2 content

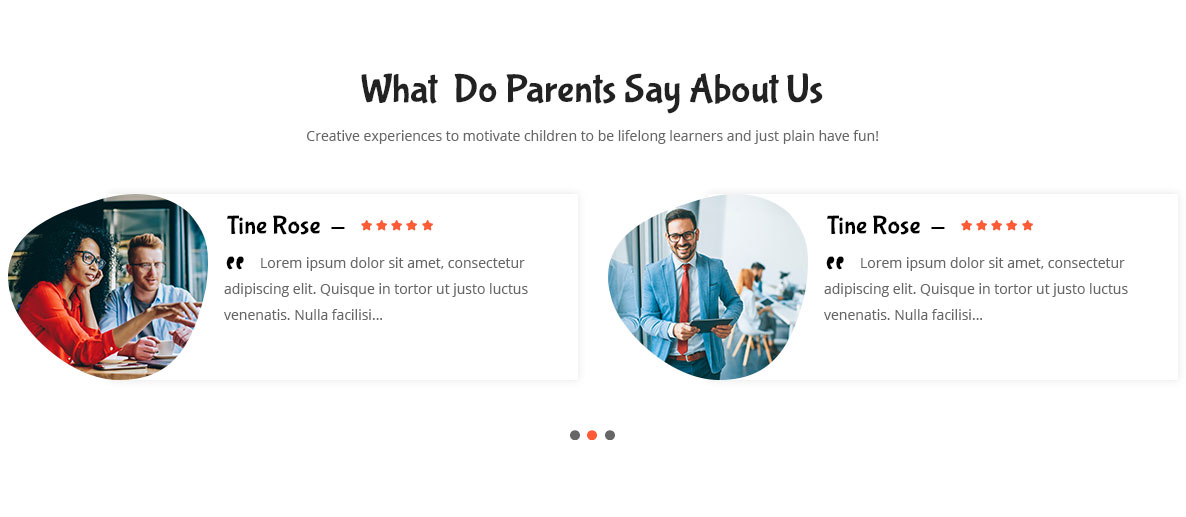
    Position Testimonials Section

    10. Position2

    Frontend Appearance

    To configure this module,please go to Extensions >> Module Manager >>Click "New" button to create a new module >> Select "K2 content" module.

    Backend Settings: k2 content

    Position 6 Section

    10. Position2

    Frontend Appearance

    To configure this module,please go to Extensions >> Module Manager >>Click "New" button to create a new module >> Select "K2 content" module.

    Backend Settings: k2 content

    Position 7 Section

    10. Position2

    Frontend Appearance

    To configure this module,please go to Extensions >> Module Manager >>Click "New" button to create a new module >> Select "K2 content" module.

    Backend Settings: k2 content

    Position 8 Section

    10. Position2

    Frontend Appearance

    To configure this module,please go to Extensions >> Module Manager >>Click "New" button to create a new module >> Select "K2 content" module.

    Backend Settings: k2 content

    Footer Top Section

    18. Footer1

    Frontend Appearance

    To configure Custom, please go to Extensions >> Templates >> Click "Styles" button to create a edit template >> Select "Basic" tab

  • Backend Settings: Copyright
  • Copy & Paste the code into your editor:

    				
    					<div class="footer-contact"><img src="#" alt="footer" />	
    <p>Lorem ipsum dolor sit amet, consectetur adipiscing elit. Duis tincidunt non nunc non luctus. Duis auctor augue ac magna egestas fermentum.</p>	
    <p>Mauris venenatis orci mauris. Morbi sagittis, ipsum nec aliquet feugiat, ligula diam pharetra eros, id semper mi ex at orci.</p>	
    <p class="inffo address">No 1123, Marmora Road, Glasgow, D04 89GR.</p>
    <p class="inffo phone">(801) 2345 - 6788 / (801) 2345 - 6789</p>
    <p class="inffo email">	Contac us: <a href="mailto:support@cryptoz.com">support@cryptoz.com</a></p>
    </div>	
    					

    Footer Bottom Section

    21. Bottom1

    Frontend Appearance

    To configure Footer4, please go to Extensions => Templates => sj-kidcourse => Basic Tab => Footer

    Backend Settings: Footer4

    22. Bottom2

    Frontend Appearance

    To configure this module,please go to Extensions >> Module Manager >>Click "New" button to create a new module >> Select "Custom" module.

    Backend Settings: Footer4

    Copy & Paste the code into your editor:

    	<div class="footer-payment">
    	<ul>
    	<li><a title="app store" href="#"><img src="#" alt="app store" /></a></li>
    	<li><a title="google store" href="#"><img src="#" alt="google store" /></a></li>
    	</ul>
    	</div>				
    					

    21. Bottom3

    Frontend Appearance

    To configure Footer4, please go to Extensions => Templates => sj-kidcourse => Basic Tab => Footer

    Backend Settings: Footer4

    21. Bottom4

    Frontend Appearance

    To configure Footer4, please go to Extensions => Templates => sj-kidcourse => Basic Tab => Footer

    Backend Settings: Footer4


    1. Create new SP Page Builder

    Please go to Components => SP Page Builder => Click New button => Enter the Title: Home Page

    Please go to Menus => Main menu => Click New button => Enter the Title: Home Page. Select "SP Page Builder ยป Page: home page"

    Backend Settings

    Thank you so much for purchasing this template. If you have any questions that are beyond the scope of this help file, please send us via: Submit a Ticket

    Thanks so much!