Copyright SmartAddons 2023
made with the Documenter v2.0
made with the Documenter v2.0
SJ Emarket - Responsive Multipurpose Joomla & VirtueMart Joomla 4 Template
System Requirements: here
Download Packages from our store: here
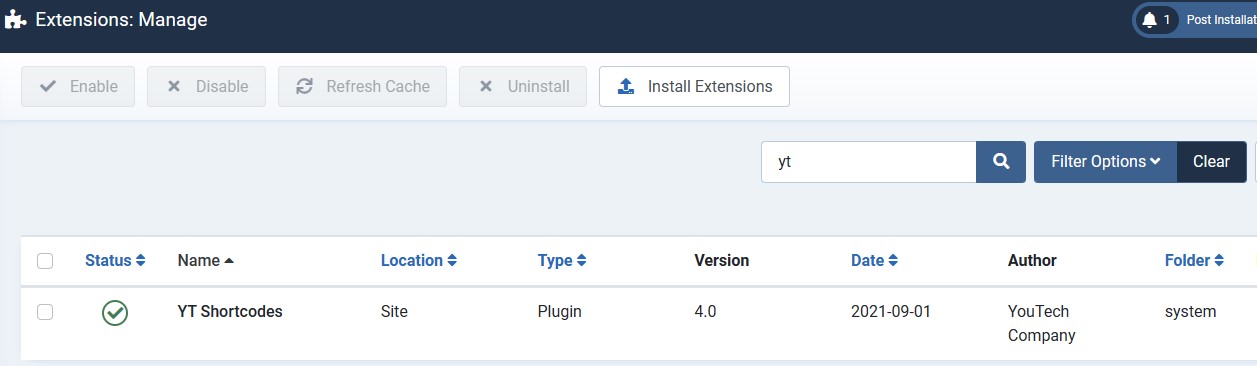
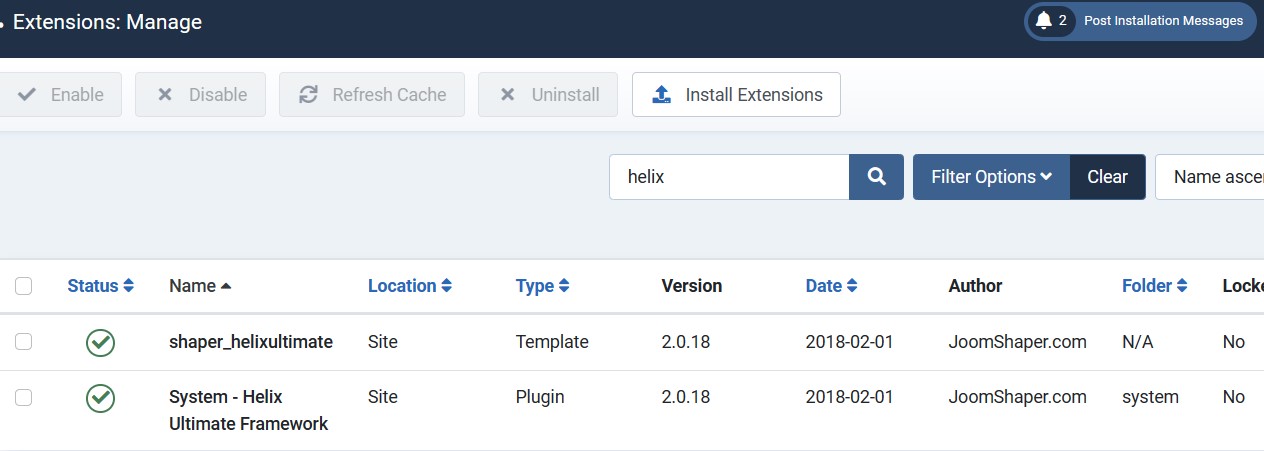
This template uses Helix ultimate - Framework . You can refer to the Helix ultimate function: here
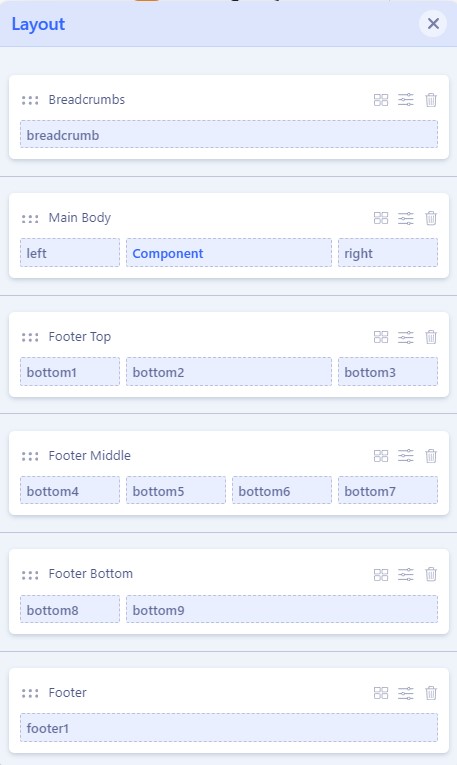
Position Layout
By using this package, you will see your website exactly as our Demo with sample data. This is applied when you need a fresh Joomla with our template
The following steps will guide to install a quickstart package of SmartAddons Joomla Template (refer sj basic4 quickstart): Click hereIn case your website is powered by Joomla 4 and you want to install an additional template, here are the steps that you need to follow.
For the needs of this tutorial, we presume you've already have downloaded your new template on your computer.
To make your new Joomla 4 template default for all of the pages of your website, follow these steps
For the needs of this tutorial, we presume you've already have downloaded the extension .ZIP archive on your computer.
Header Configuration
1. Top1
Frontend

Please go to System/Manage/Site Modules => Click New button to create a new module => Select Custom module.
Backend Settings: Module
Copy & Paste the code into your editor:
<div class="welcome-msg">World's Fastest Online Shopping Destination!</div>
2. Top2
Frontend

2.1. Please go to System/Manage/Site Modules =>Click New button to create a new module => Select VirtueMart Currency Selector module.
Backend Settings: Module
2.2. Please go to System/Manage/Site Modules =>Click New button to create a new module => Select Language Switcher module.
Backend Settings: Module
3. Logo
Frontend
![]()
Please go to System/Templates/Site Template Styles/sj-emarket => Templates Options/Basic tab => Logo
4. User1
Frontend

Please go to System/Manage/Site Modules =>Click New button to create a new module => Select SJ Search Pro for VirtueMart module.
Backend Settings: Module
5. User2
Frontend

5.1. Please go to System/Manage/Site Modules =>Click New button to create a new module => Select Login module.
Backend Settings: Module
5.2. Please go to System/Manage/Site Modules => Click New button to create a new module => Select Custom module.
Backend Settings: Module
Copy & Paste the code into your editor:
<div class="help hidden-md hidden-sm"><a href="#"><i class="fa fa-question-circle-o"> </i>Help</a></div>
5.3. Please go to System/Manage/Site Modules =>Click New button to create a new module => Select SJ Minicart Pro for Virtuemart module.
Backend Settings: Module/ Layout Options
6. Menu
Frontend

Please go to System/Templates/Site Template Styles/sj-emarket => Templates Options/Menu tab => select your Main menu
7. User3
Frontend

Please go to System/Templates/Site Template Styles/sj-emarket => Templates Options/Basic tab => Contact Info
Backend Settings: Module
Footer Configuration
8. Bottom1
Frontend

Please go to System/Manage/Site Modules => Click New button to create a new module => Select Custom module.
Backend Settings: Module
Copy & Paste the code into your editor:
<div class="logo-footer"><a href="#"><img class=" lazyloaded" src="images/market/logo-footer.png" alt="image" data-src="images/market/logo-footer.png" /></a></div>
9. Bottom2
Frontend

Please go to System/Manage/Site Modules => Click New button to create a new module => Select Custom module.
Backend Settings: Module
Copy & Paste the code into your editor:
<div class="block-newsletter">
<div class="pre_text">Subscribe to our newsletter to get updates on our latest offers!</div>
<form class="form-inline newsletter" action="#" method="post">
<div class="form-group">
<div class="input-box"><input id="txtemail" class="form-control input-large" name="txtemail" size="55" type="email" value="" placeholder="Your email address..." /></div>
<div class="subcribe"><button class="btn btn-primary btn-default" type="submit"> Subscribe </button></div>
</div>
</form></div>
10. Bottom3
Frontend

Please go to System/Manage/Site Modules => Click New button to create a new module => Select Custom module.
Backend Settings: Module
Copy & Paste the code into your editor:
<div class="footer-apps">
<div class="pre_text">Get access to exclusive offers!</div>
<ul>
<li><a href="#"><img class="lazyloaded" src="images/market/app1.png" alt="app" /></a></li>
<li><a href="#"><img class="lazyloaded" src="images/market/app2.png" alt="app" /></a></li>
</ul>
</div>
11. Bottom4
Frontend

Please go to System/Manage/Site Modules => Click New button to create a new module => Select Custom module.
Backend Settings: Module
Copy & Paste the code into your editor:
<div class="footer-info box-footer">
<ul>
<li>5611 Wellington Road, Suite 115, Gainesville</li>
<li>+84 (0) 387 392 056</li>
<li>Support@domain.com</li>
<li>08:00 to 20:00</li>
</ul>
</div>
12. Bottom5
Frontend

Please go to System/Manage/Site Modules => Click New button to create a new module => Select Menu module.
Backend Settings: Module
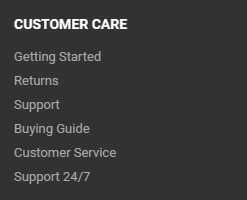
13. Bottom6
Frontend

Please go to System/Manage/Site Modules => Click New button to create a new module => Select Menu module.
Backend Settings: Module
14. Bottom7
Frontend
Please go to System/Manage/Site Modules => Click New button to create a new module => Select Menu module.
Backend Settings: Module
15. Bottom8
Frontend

Please go to System/Templates/Site Template Styles/sj-emarket => Templates Options/Basic tab => Social icons
Backend Settings: Module
16. Bottom9
Frontend

Please go to System/Manage/Site Modules => Click New button to create a new module => Select Custom module.
Backend Settings: Module
Copy & Paste the code into your editor:
<div class="payment">
<div class="payment-content"><a href="#"><img class="lazyautosizes lazyloaded" src="images/market/payment.png" alt="payment" data-sizes="auto" data-src="images/market/payment.png" /></a></div>
</div>
17. Footer1
Frontend

Please go to System/Templates/Site Template Styles/sj-emarket => Templates Options/Basic tab => Footer
Backend Settings: Footer
Home page
Refer our modules use for this page:
18. Position-1
Frontend
Please go to System/Manage/Site Modules => Click New button to create a new module => Select SJ Mega Menu module module.
Backend Settings: Module/ Sj Mega Menu Options/ Advanced
19. Slider
Frontend

Please go to System/Manage/Site Modules => Click "New" button to create a new module >> Select "Custom" module.
Backend Settings: Module/ Options
Copy & Paste the code into your editor:
<div class="homepage-slider">[yt_content_slider style="default" margin="0" items_column0="1" items_column1="1" items_column2="1" items_column3="1" items_column4="1" type_change="fade" transitionin="fadeInDown" transitionout="fadeOutDown" arrows="yes" arrow_position="arrow-default" pagination="yes" autoplay="no" autoheight="no" hoverpause="yes" lazyload="yes" loop="yes" speed="0.6" delay="4" ] [yt_content_slider_item src="images/banners/slide_1.jpg" caption="no" link="#" ] Add Content Here [/yt_content_slider_item] [yt_content_slider_item src="images/banners/slide_2.jpg" caption="no" link="#" ] Add Content Here [/yt_content_slider_item] [yt_content_slider_item src="images/banners/slide_3.jpg" caption="no" link="#" ] Add Content Here [/yt_content_slider_item] [/yt_content_slider]</div>
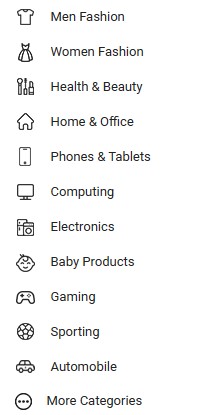
20. Position-2
Frontend

Please go to System/Manage/Site Modules => Click New button to create a new module => Select SJ Categories for VirtueMart module.
Backend Settings: Module/ Source Options/ Category Options/ Image Options/
21. Position-3
Frontend
Please go to System/Manage/Site Modules => Click New button to create a new module => Select SJ Extra Slider for VirtueMart module.
Backend Settings: Module/ Source Options/ Item Options/ Image Options/ Effect Options/ Advanced
22. Position-4
Frontend
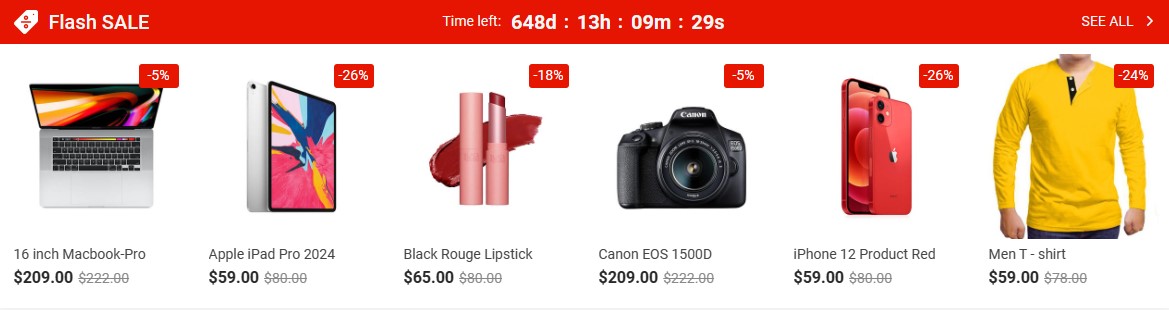
Please go to System/Manage/Site Modules => Click New button to create a new module => Select SJ Deals for VirtueMart module.
Module/ Source Options/ Product Options/ Category Options/ Image Options/ Effect Options
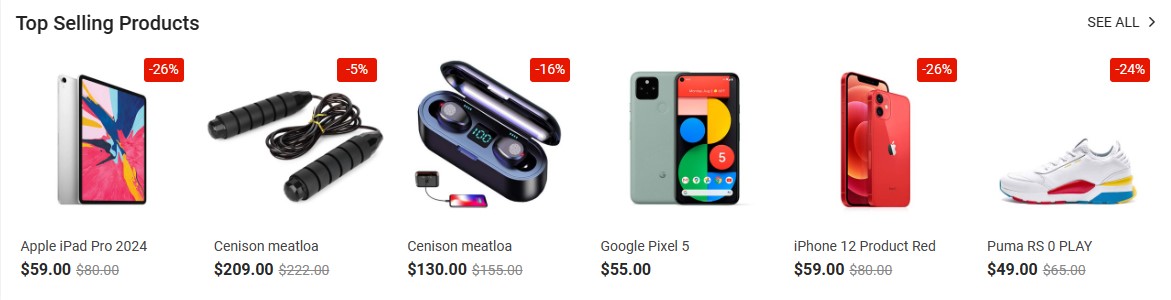
23. Position-5
Frontend
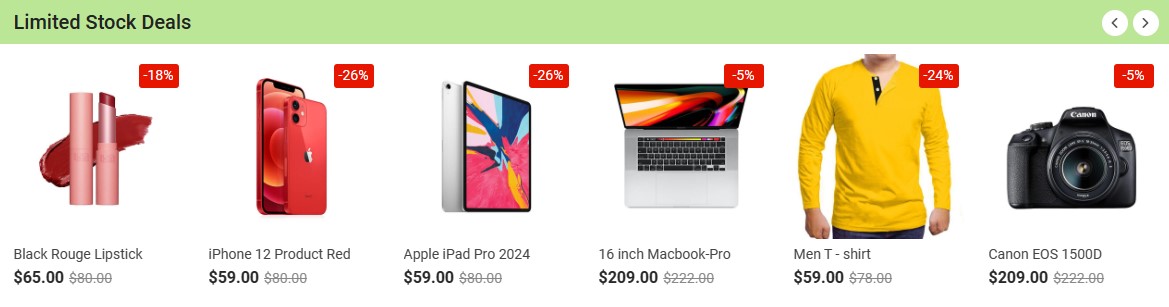
Please go to System/Manage/Site Modules => Click New button to create a new module => Select SJ Deals for VirtueMart module.
Module/ Source Options/ Product Options/ Category Options/ Image Options/ Effect Options
24. Position-6
Frontend
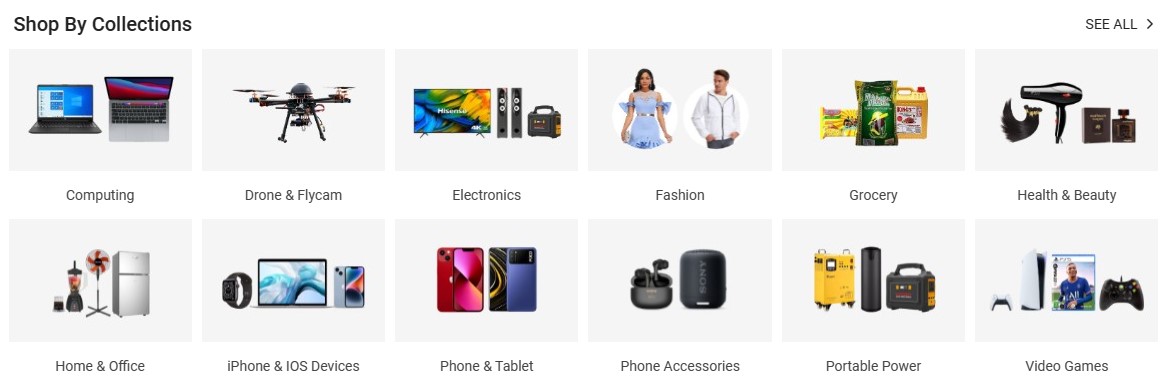
Please go to System/Manage/Site Modules => Click New button to create a new module => Select SJ Categories for VirtueMart module.
Backend Settings: Module/ Source Options/ Category Options/ Image Options/ Advanced
25. Position-7
Frontend

Please go to System/Manage/Site Modules => Click New button to create a new module => Select SJ Extra Slider for VirtueMart module.
Backend Settings: Module/ Source Options/ Item Options/ Image Options/ Effect Options/ Advanced
26. Position-8
Frontend

Please go to System/Manage/Site Modules => Click "New" button to create a new module >> Select "Custom" module.
Backend Settings: Module/ Options
Copy & Paste the code into your editor:
[yt_content_slider style="default" margin="0" items_column0="6" items_column1="6" items_column2="4" items_column3="2" items_column4="2" type_change="fade" transitionin="fadeIn" transitionout="fadeOut" arrows="no" arrow_position="arrow-default" pagination="no" autoplay="no" autoheight="no" hoverpause="no" lazyload="yes" loop="no" speed="0.6" delay="4" ] [yt_content_slider_item src="images/market/brand/b1.jpg" caption="no" link="#" ] Add Content Here [/yt_content_slider_item] [yt_content_slider_item src="images/market/brand/b2.jpg" caption="no" link="#" ] Add Content Here [/yt_content_slider_item] [yt_content_slider_item src="images/market/brand/b3.jpg" caption="no" link="#" ] Add Content Here [/yt_content_slider_item] [yt_content_slider_item src="images/market/brand/b4.jpg" caption="no" link="#" ] Add Content Here [/yt_content_slider_item] [yt_content_slider_item src="images/market/brand/b5.jpg" caption="no" link="#" ] Add Content Here [/yt_content_slider_item] [yt_content_slider_item src="images/market/brand/b6.jpg" caption="no" link="#" ] Add Content Here [/yt_content_slider_item] [/yt_content_slider] [yt_content_slider style="default" margin="0" items_column0="6" items_column1="6" items_column2="4" items_column3="2" items_column4="2" type_change="fade" transitionin="fadeIn" transitionout="fadeOut" arrows="no" arrow_position="arrow-default" pagination="no" autoplay="no" autoheight="no" hoverpause="no" lazyload="yes" loop="no" speed="0.6" delay="4" ] [yt_content_slider_item src="images/market/brand/b7.jpg" caption="no" link="#" ] Add Content Here [/yt_content_slider_item] [yt_content_slider_item src="images/market/brand/b8.jpg" caption="no" link="#" ] Add Content Here [/yt_content_slider_item] [yt_content_slider_item src="images/market/brand/b9.jpg" caption="no" link="#" ] Add Content Here [/yt_content_slider_item] [yt_content_slider_item src="images/market/brand/b10.jpg" caption="no" link="#" ] Add Content Here [/yt_content_slider_item] [yt_content_slider_item src="images/market/brand/b11.jpg" caption="no" link="#" ] Add Content Here [/yt_content_slider_item] [yt_content_slider_item src="images/market/brand/b12.jpg" caption="no" link="#" ] Add Content Here [/yt_content_slider_item] [/yt_content_slider]
27. Position-9
Frontend

Please go to System/Manage/Site Modules => Click "New" button to create a new module >> Select "Custom" module.
Backend Settings: Module/ Options
Copy & Paste the code into your editor:
[yt_testimonial yt_title="" column="2" display_avatar="yes" border="0px solid #ccc" background="" title_color="#ccc" ] [yt_testimonial_item author="Eva Jordan Lombar" position="" avatar="images/market/t1.jpg" ] This is a great design and i hope that we will create a website with a good signature. Magentech team is reactive and kind. Thanks for the help so far. [/yt_testimonial_item] [yt_testimonial_item author="Eva Jordan Lombar" position="" avatar="images/market/t2.jpg" ] This is a great design and i hope that we will create a website with a good signature. Magentech team is reactive and kind. Thanks for the help so far. [/yt_testimonial_item] [yt_testimonial_item author="Eva Jordan Lombar" position="" avatar="images/market/t3.jpg" ] This is a great design and i hope that we will create a website with a good signature. Magentech team is reactive and kind. Thanks for the help so far. [/yt_testimonial_item] [/yt_testimonial]
28. Position-10
Frontend
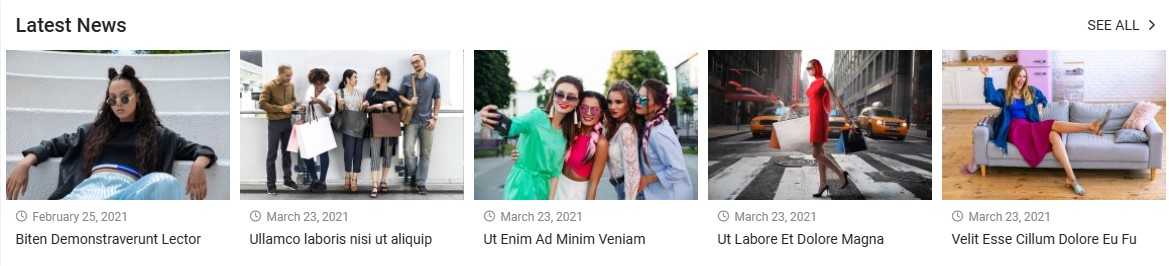
Please go to System/Manage/Site Modules => Click New button to create a new module => Select SJ Extra Slider for Content module.
Backend Settings: Module/ Source Options/ Item Options/ Image Options/ Effect Options/ Advanced
Then create the home page and import page. Please go to Components => SP Page builder => Click New button => Enter the Title: "Home"
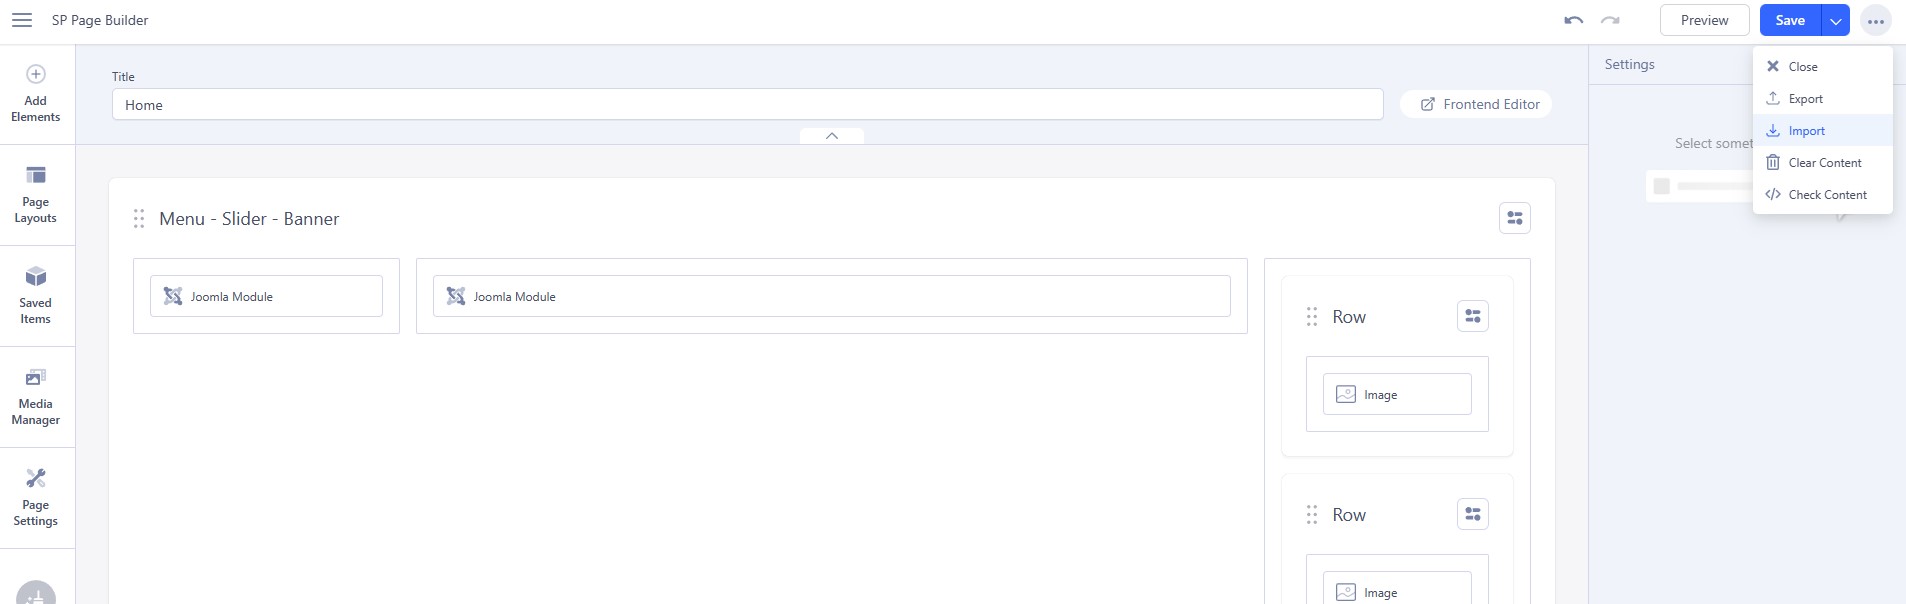
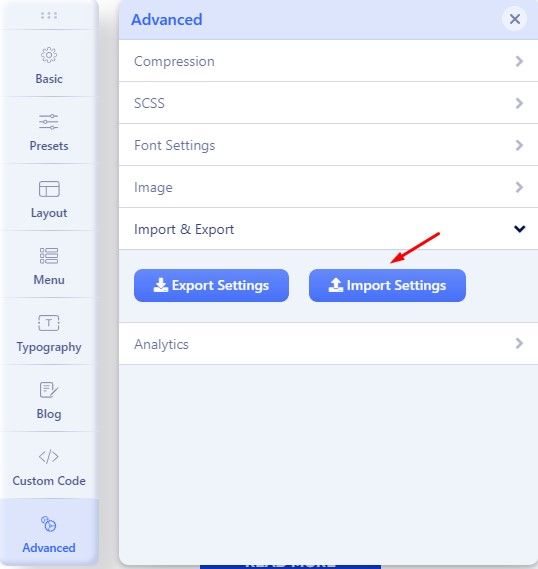
# Click Import
# Unzip the template package (eg name: sj-emarket_template_j4x_v1.0.0.zip) to get the json files: "sp-hompage.json"
# Select the file: "sp-hompage.json" and then Save
The next, go to Menus => Main menu => Click New button => Enter the Title: Home. Select "SP Page builder » Page: Home" and set this menu to default home.
Contact us page
Refer our modules use for this page:
1. SJ Contact Ajax
Frontend
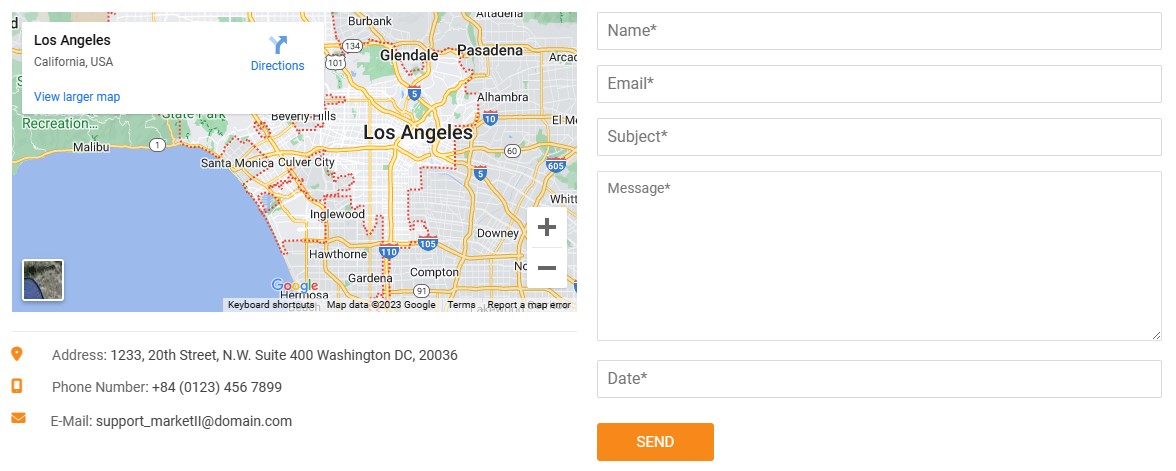
Please go to System/Manage/Site Modules => Click New button to create a new module => Select SJ Contact Ajax module.
Then create the contact us page and import page. Please go to Components => SP Page builder => Click New button => Enter the Title: "Contact us"
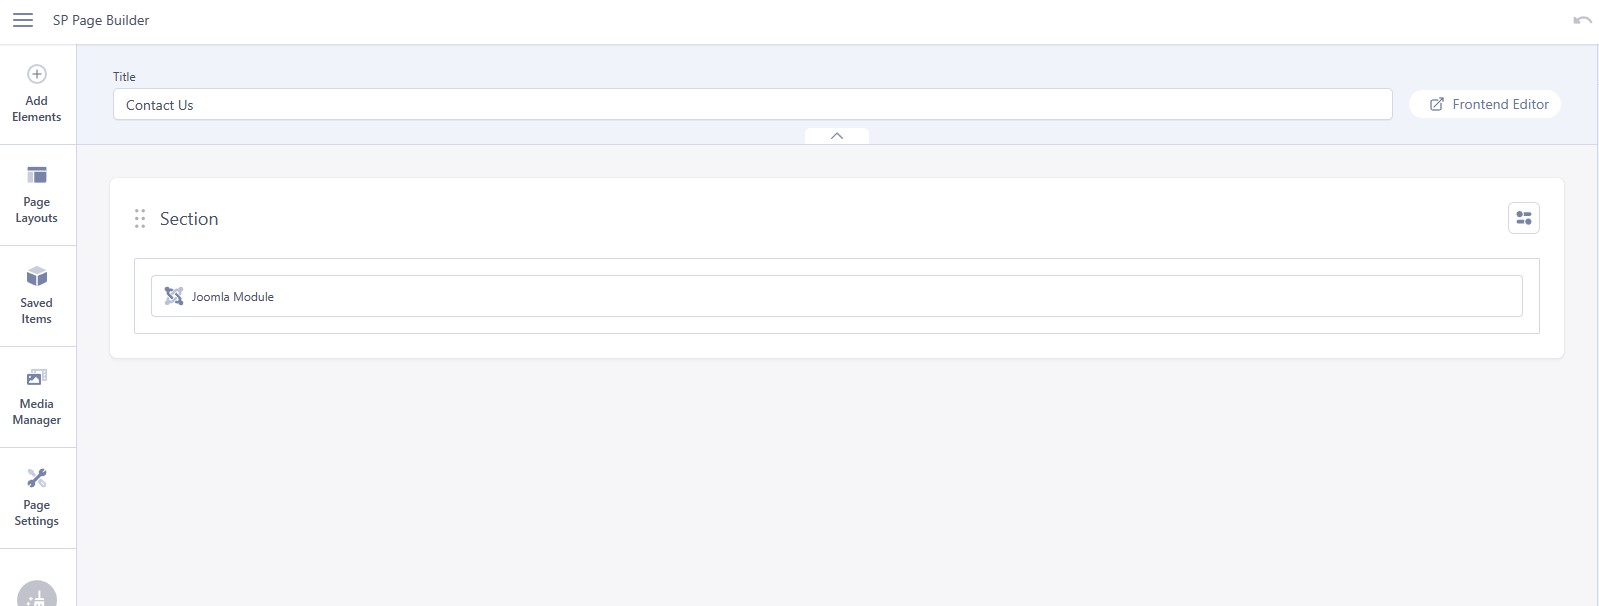
# Click Import
# Unzip the template package (eg name: sj-emarket_template_j4x_v1.0.0.zip) to get the json files: "sp-contactpage.json"
# Select the file: "sp-contactpage.json" and then Save
The next, go to Menus => Main menu => Click New button => Enter the Title: Contact Us. Select "SP Page builder » Page: Contact us"
About us page
Please go to Components => SP Page builder => Click New button => Enter the Title: "About us"
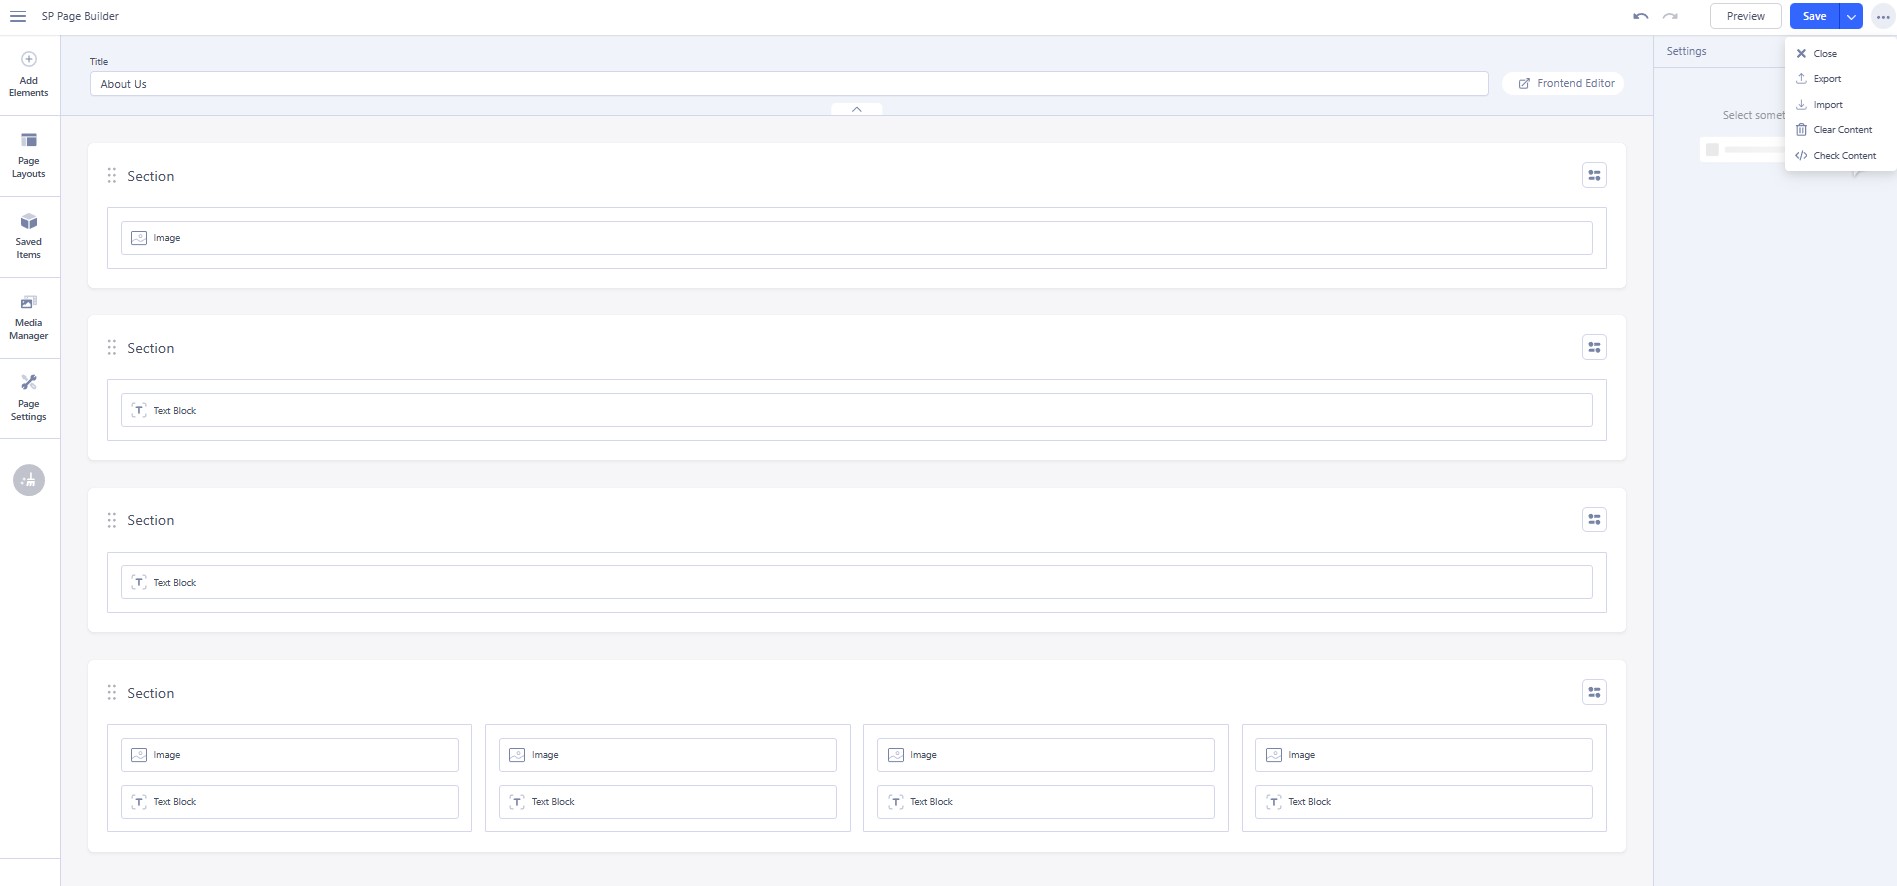
# Click Import
# Unzip the template package (eg name: sj-emarket_template_j4x_v1.0.0.zip) to get the json files: "sp-aboutpage.json"
# Select the file: "sp-aboutpage.json" and then Save
The next, go to Menus => Main menu => Click New button => Enter the Title: About Us. Select "SP Page builder » Page: About us"
Please go to System => Manage => Languages to install the language that you want to use.
Then go toSystem => Manage => Content Languages and click "New" button to crete the New Content Language.
To remove Designed by SmartAddons.Com at the footer of template, please purchase our Copyright Removal here
Thank you so much for purchasing this template. If you have any questions that are beyond the scope of this help file, please send us via: Submit a Ticket
Thanks so much!