Sj Business
- created: 4/2023
- by: SmartAddons
- email: contact@ytcvn.com
SJ Business - business and Construction Joomla Template.
System Requirements – Joomla version 4.x
System Requirements: here
Component Requirements
DOWNLOAD
Download Packages from our store: here
Helix ultimate - Framework
This template uses Helix ultimate - Framework . You can refer to the Helix ultimate function: here
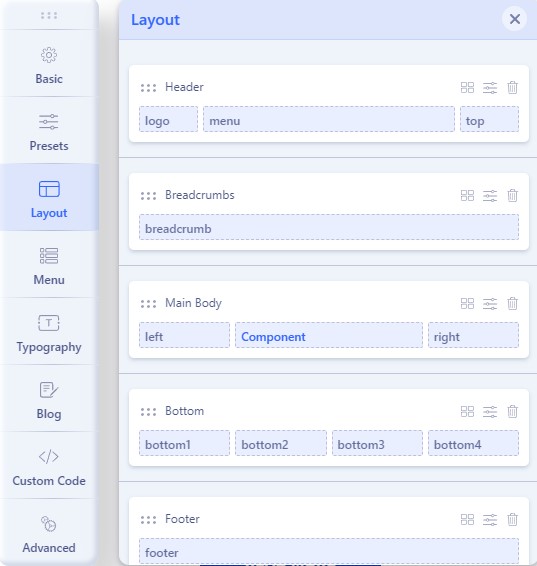
Layout Position
Position Layout
Install with Quickstart Package
By using this package, you will see your website exactly as our Demo with sample data. This is applied when you need a fresh Joomla with our template
The following steps will guide to install a quickstart package of SmartAddons Joomla Template (refer sj basic4 quickstart): Click hereInstall with Template and Extensions
In case your website is powered by Joomla 4 and you want to install an additional template, here are the steps that you need to follow.
For the needs of this tutorial, we presume you've already have downloaded your new template on your computer.
- Log in to the Joomla admin panel with your ID and your password.
- Click on System in the left menu.
- Click on Extensions in the Install panel.
- Click on the green button Browse for file to select the template .ZIP archive on your computer.
- Few seconds later, your new Joomla 4 template is successfully installed.
To make your new Joomla 4 template default for all of the pages of your website, follow these steps
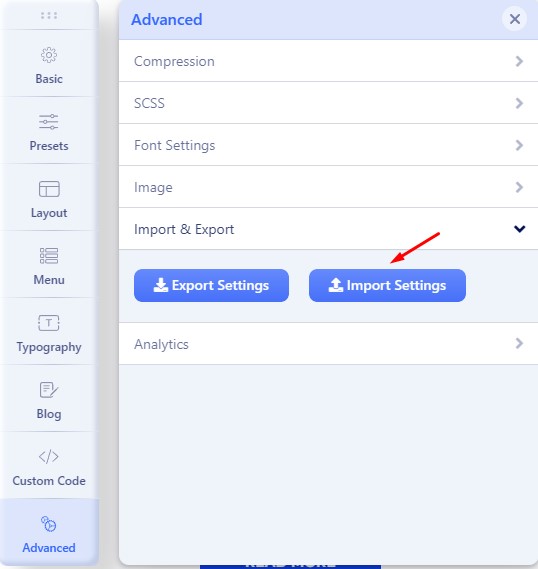
- Extract the template .ZIP archive to get the options.json file.
- Click on System in the left menu.
- Click on Site Template Styles in the Templates panel.
- Then, click on the star icon to make sj template as default for all the pages of your website.
- Click edit this template >> Template Options to import the options.json file, then click the button save.
For the needs of this tutorial, we presume you've already have downloaded the extension .ZIP archive on your computer.
- Extract the extensions .ZIP archive to get all our module use for this template.
- Click on System in the left menu.
- Click on Extensions in the Install panel.
- Click on the green button Browse for file to select the each extension .ZIP archive on your computer.
- Few seconds later, all our module are successfully installed.
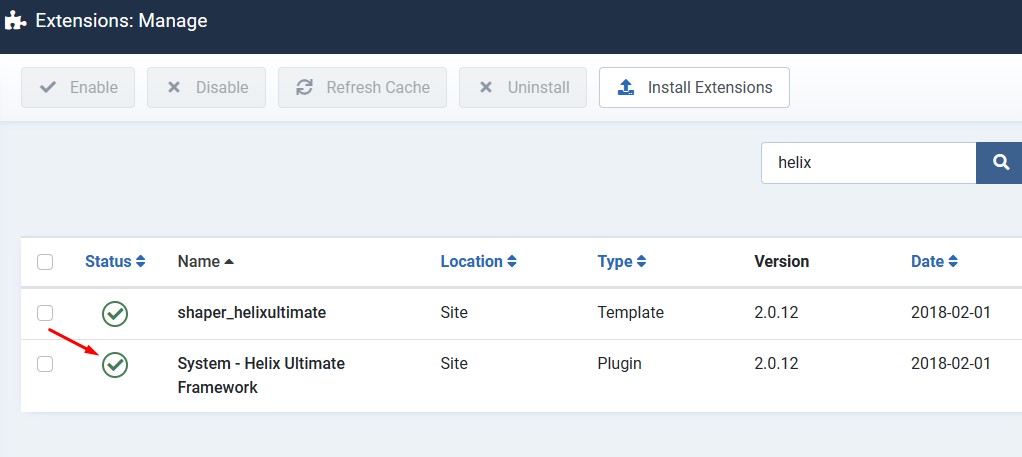
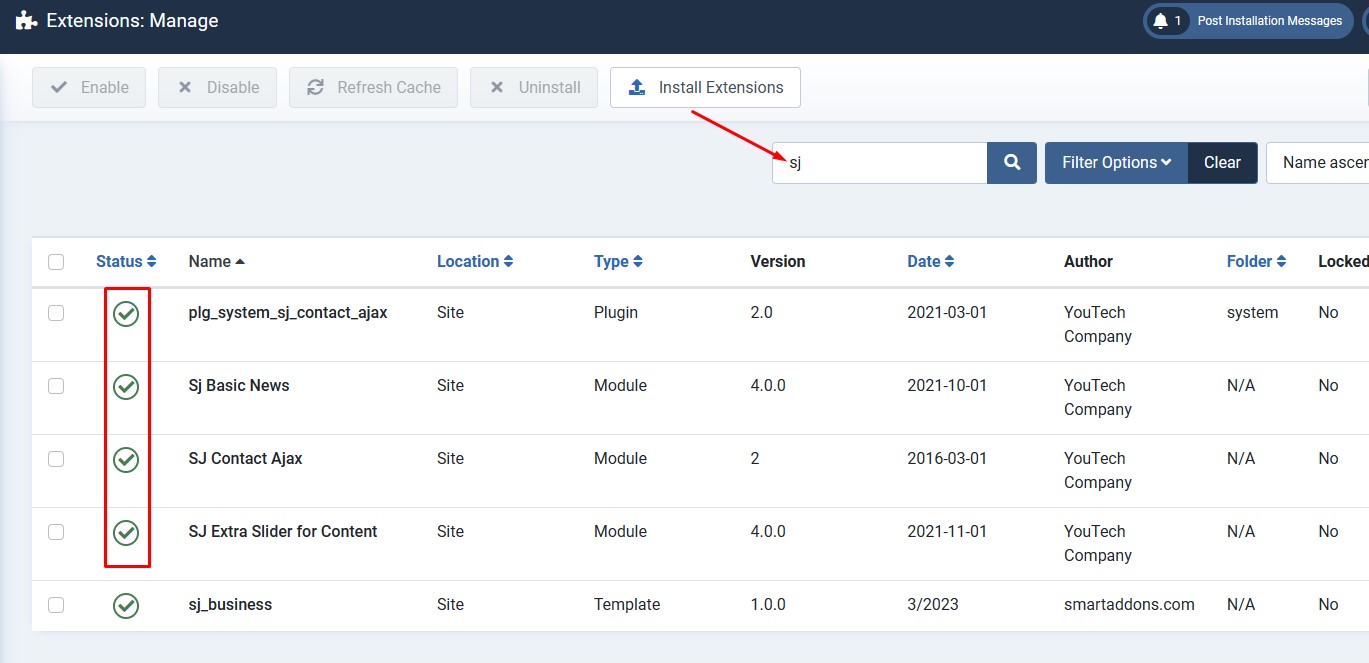
- Enable our Modules and Plugins: Go to System >> Manage >> Plugins >> search with the keys "sj" and "ytshortcode", "System - Helix Ultimate Framework".

Header, Footer, Pages
Header Configuration
1. Logo
Frontend
![]()
To configure Logo, please go to System/Templates/Site Template Styles/sj_business => Templates Options/Basic tab => Logo
2. Menu
Frontend

Please go to System/Templates/Site Template Styles/sj_business => Templates Options/Menu tab => select your Main menu
3. Top
Frontend

3.1. Please go to System/Manage/Site Modules =>Click New button to create a new module => Select Search module.
Backend Settings: Module
3.2. Please go to System/Manage/Site Modules => Click New button to create a new module => Select SJ Contact Ajax module.
Backend Settings:
3.3 Please go to System/Templates/Site Template Styles/sj_business => Templates Options/Basic tab => Social Icons
Backend Settings: Module
Footer Configuration
4. Bottom1
Frontend

Please go to System/Manage/Site Modules => Click New button to create a new module => Select Custom module.
Backend Settings: Module/
Copy & Paste the code into your editor:
<ul class="work-time">
<li>
<div>monday</div>
<div>9:00am - 5:00pm</div>
</li>
<li>
<div>tuesday</div>
<div>9:00am - 5:00pm</div>
</li>
<li>
<div>wednesday</div>
<div>9:00am - 5:00pm</div>
</li>
<li>
<div>thursday</div>
<div>9:00am - 5:00pm</div>
</li>
<li>
<div>friday</div>
<div>9:00am - 5:00pm</div>
</li>
<li>
<div>saturday</div>
<div>9:00am - 5:00pm</div>
</li>
<li>
<div>sunday</div>
<div>sunday closed</div>
</li>
</ul>
5. Bottom2
Frontend
Please go to System/Manage/Site Modules => Click New button to create a new module => Select Menu module.
Backend Settings: Module
6. Bottom3
Frontend

Please go to System/Templates/Site Template Styles/sj_business => Templates Options/Basic tab => Contact Info
Backend Settings: Contact Info
7. Bottom4
Frontend

Please go to System/Manage/Site Modules => Click "New" button to create a new module >> Select "Custom" module.
Backend Settings: Module
Copy & Paste the code into your editor:
<div class="box-newsletter"> <div class="introtext">Sign Up Newsletter & Get 20% Off First Order</div> <form class="form-inline newsletter" action="#" method="post"><input class="input-large" name="youremail" size="18" type="text" value="Enter your email..." /> <button class="button btn">Subscribe</button></form></div>
8. Footer
Frontend

Please go to System/Templates/Site Template Styles/sj_business => Templates Options/Basic tab => Footer
Backend Settings: Footer
Home page
Refer our modules use for this page:
1. Our Services
Frontend
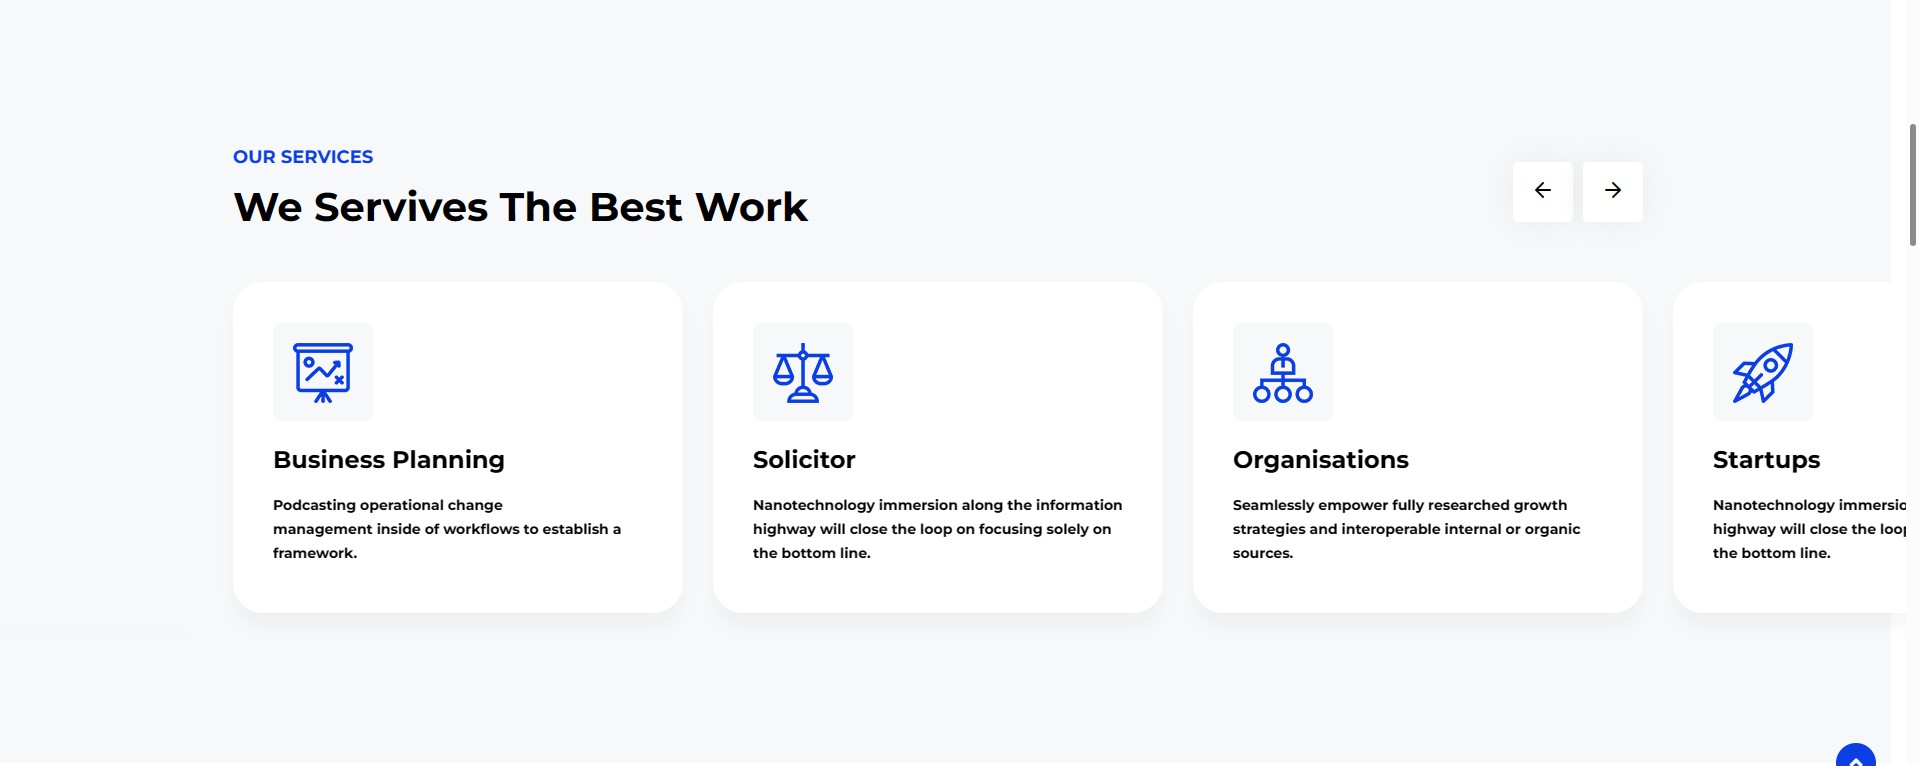
Please go to System/Manage/Site Modules => Click New button to create a new module => Select SJ Extra Slider for Content module.
2. Counter
Frontend

Please go to System/Manage/Site Modules => Click "New" button to create a new module >> Select "Custom" module.
Backend Settings: Module/Options
Copy & Paste the code into your editor:
<div class="block-counter">
<div class="container">
<div class="row">
<div class="item col-lg-3 col-md-3 col-sm-3 col-xs-12">[yt_counter count_start="0" count_end="240" counter_speed="5" prefix="" suffix="+" separator="no" align="left" background="transparent" border_radius="0px" icon="images/business/c1.png" icon_color="#ffffff" count_color="#ffffff" count_size="40px" text_color="#ffffff" text_size="16px" border="0px solid #DDD" ] Success Projects [/yt_counter]</div>
<div class="item col-lg-3 col-md-3 col-sm-3 col-xs-12">[yt_counter count_start="0" count_end="70" counter_speed="5" prefix="" suffix="+" separator="no" align="left" background="transparent" border_radius="0px" icon="images/business/c2.png" icon_color="#ffffff" count_color="#ffffff" count_size="40px" text_color="#ffffff" text_size="16px" border="0px solid #DDD" ] Skilled Experts [/yt_counter]</div>
<div class="item col-lg-3 col-md-3 col-sm-3 col-xs-12">[yt_counter count_start="0" count_end="580" counter_speed="5" prefix="" suffix="+" separator="no" align="left" background="transparent" border_radius="0px" icon="images/business/c3.png" icon_color="#ffffff" count_color="#ffffff" count_size="40px" text_color="#ffffff" text_size="16px" border="0px solid #DDD" ] Media Activities [/yt_counter]</div>
<div class="item col-lg-3 col-md-3 col-sm-3 col-xs-12">[yt_counter count_start="0" count_end="830" counter_speed="5" prefix="" suffix="+" separator="no" align="left" background="transparent" border_radius="0px" icon="images/business/c4.png" icon_color="#ffffff" count_color="#ffffff" count_size="40px" text_color="#ffffff" text_size="16px" border="0px solid #DDD" ] Happy Clients [/yt_counter]</div>
</div>
</div>
</div>
3. Our Clients Say
Frontend

Please go to System/Manage/Site Modules => Click "New" button to create a new module >> Select "Custom" module.
Backend Settings: Module/Options
Copy & Paste the code into your editor:
<div class="block-warp">[yt_testimonial yt_title="" column="1" display_avatar="yes" border="0px solid #ccc" background="" title_color="#ccc" ] [yt_testimonial_item author="Atonio Bruce" position="CEO - Smartaddons" avatar="images/business/tes-1.jpg" ] This is a great design and i hope that we will create a website with a good signature. Smartaddons team is reactive and kind. Thanks for the help so far. [/yt_testimonial_item] [yt_testimonial_item author="Atonio Bruce" position="Dev - Magentech" avatar="images/business/tes-2.jpg" ] This is a great design and i hope that we will create a website with a good signature. Smartaddons team is reactive and kind. Thanks for the help so far. [/yt_testimonial_item] [yt_testimonial_item author="Atonio Bruce" position="Apps - Developer" avatar="images/business/tes-3.jpg" ] This is a great design and i hope that we will create a website with a good signature. Smartaddons team is reactive and kind. Thanks for the help so far. [/yt_testimonial_item][/yt_testimonial]</div>
Then create the home page and import page. Please go to Components => SP Page business => Click New button => Enter the Title: "Home"

# Click Import
# Unzip the template package (eg name: sj_business_template_j4x_v1.0.0.zip) to get the json files: "sp-hompage.json"
# Select the file: "sp-hompage.json" and then Save
The next, go to Menus => Main menu => Click New button => Enter the Title: Home. Select "SP Page business » Page: Home" and set this menu to default home.
Contact us page
Refer our modules use for this page:
1. SJ Contact Ajax
Frontend
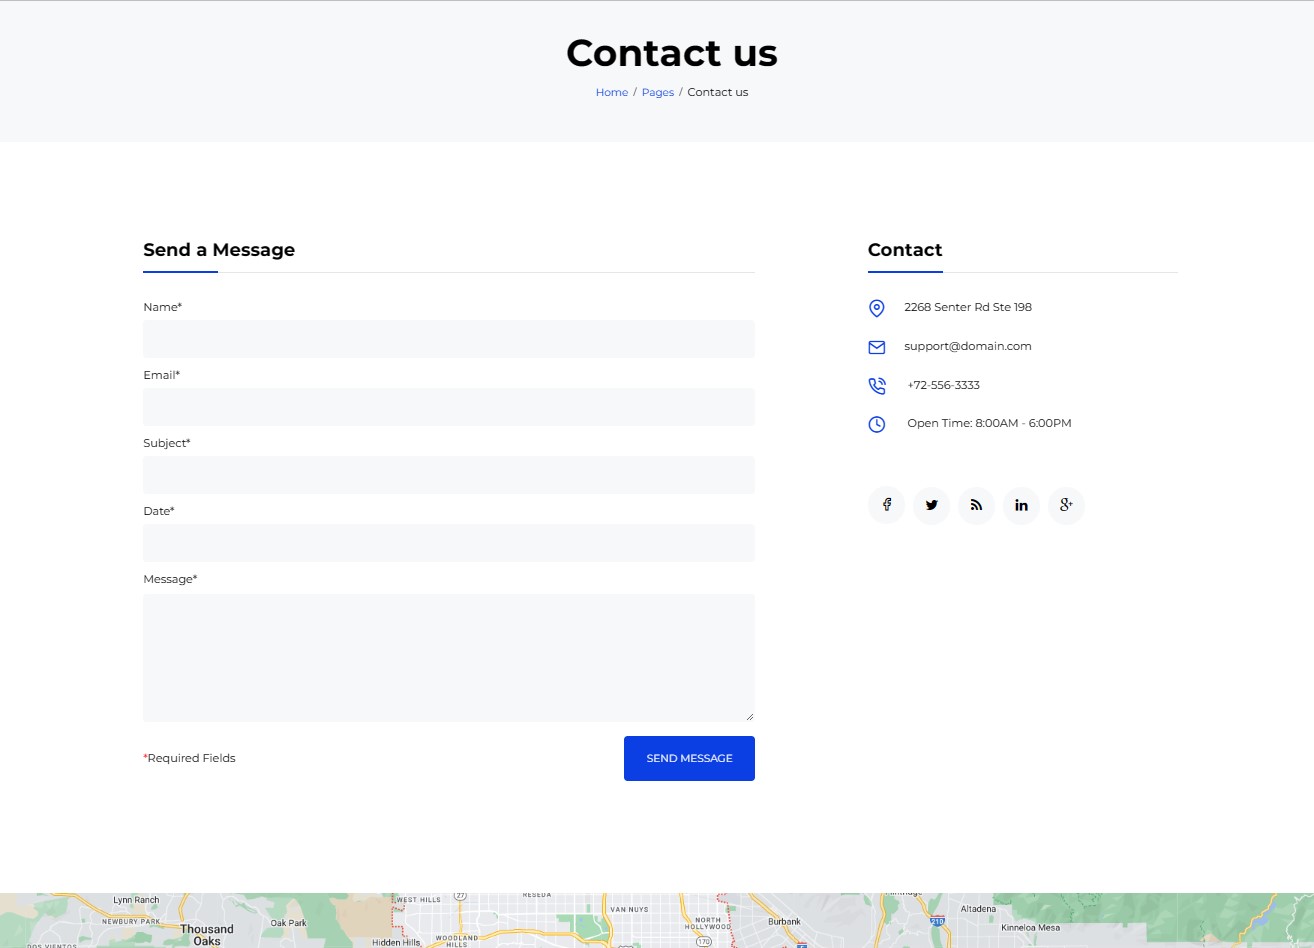
Please go to System/Manage/Site Modules => Click New button to create a new module => Select SJ Contact Ajax module.
Then create the contact us page and import page. Please go to Components => SP Page business => Click New button => Enter the Title: "Contact us"
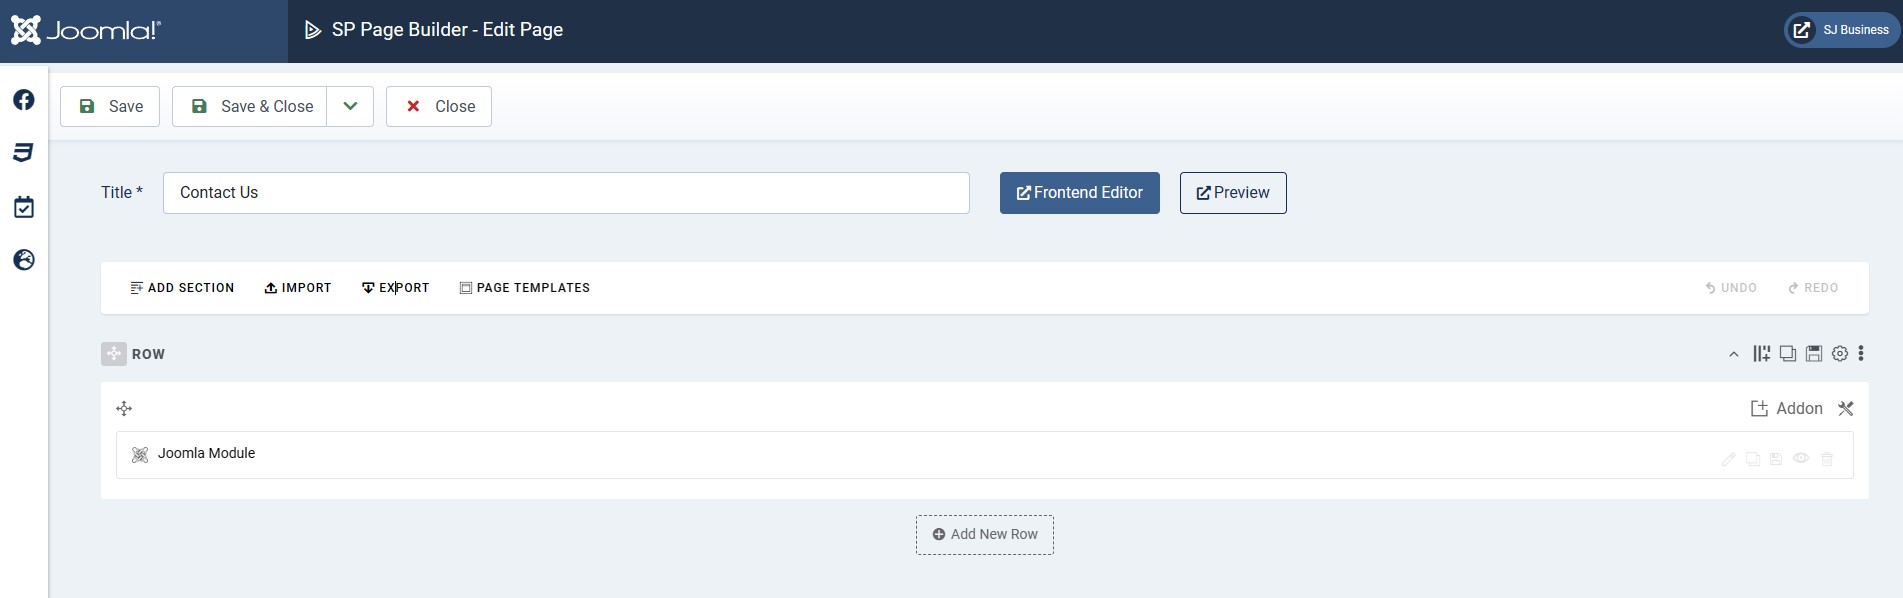
# Click Import
# Unzip the template package (eg name: sj_business_template_j4x_v1.0.0.zip) to get the json files: "sp-contactpage.json"
# Select the file: "sp-contactpage.json" and then Save
The next, go to Menus => Main menu => Click New button => Enter the Title: Contact Us. Select "SP Page business » Page: Contact us"
About us page
Refer our modules use for this page:
1. Why choose us
Frontend
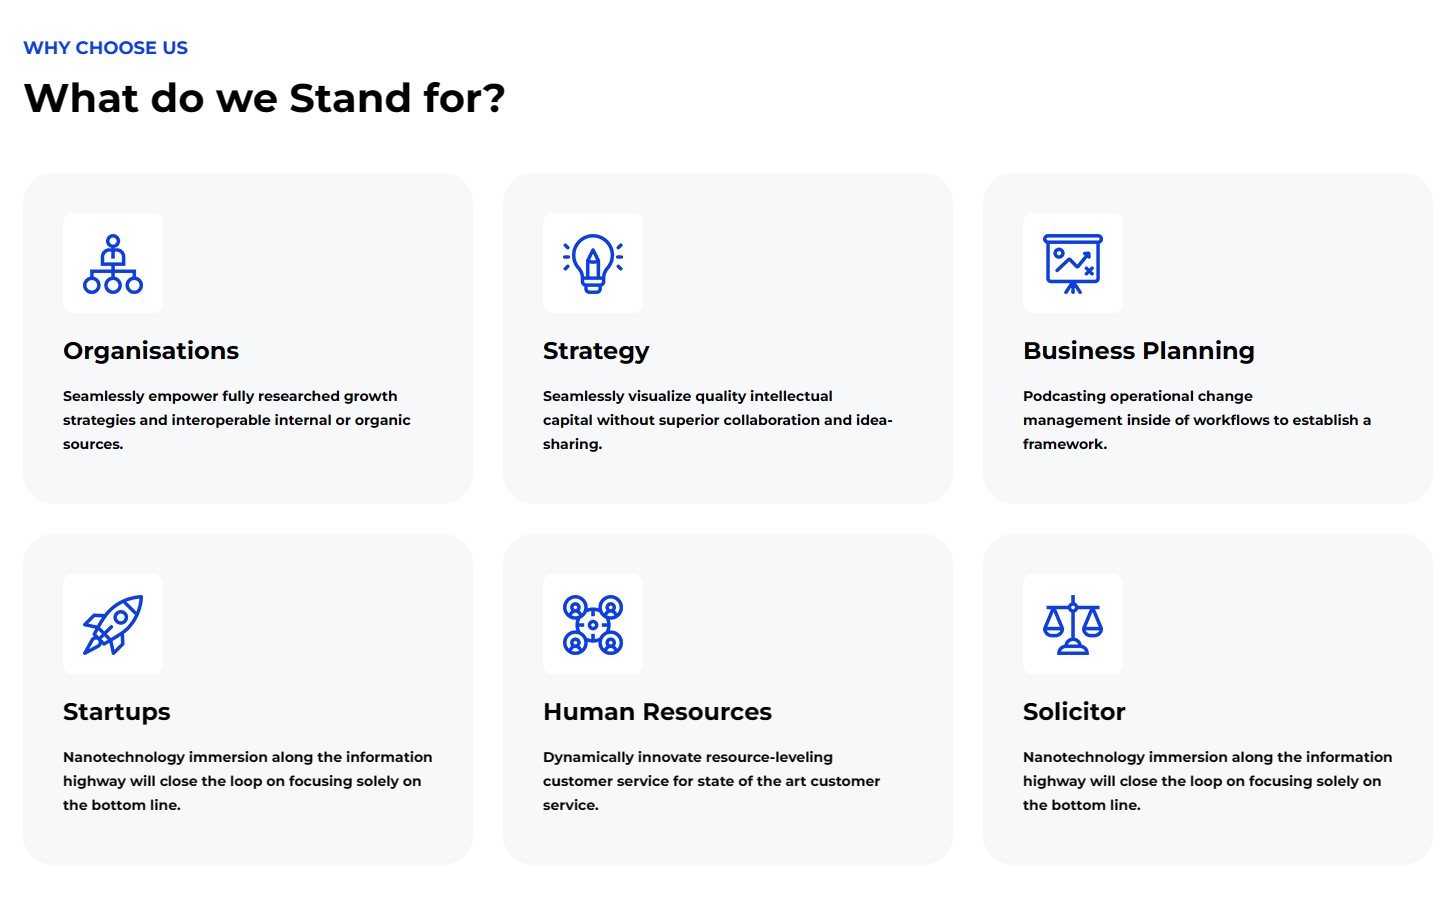
Please go to System/Manage/Site Modules => Click New button to create a new module => Select SJ Extra Slider for Content module.
2. Our skill
Frontend
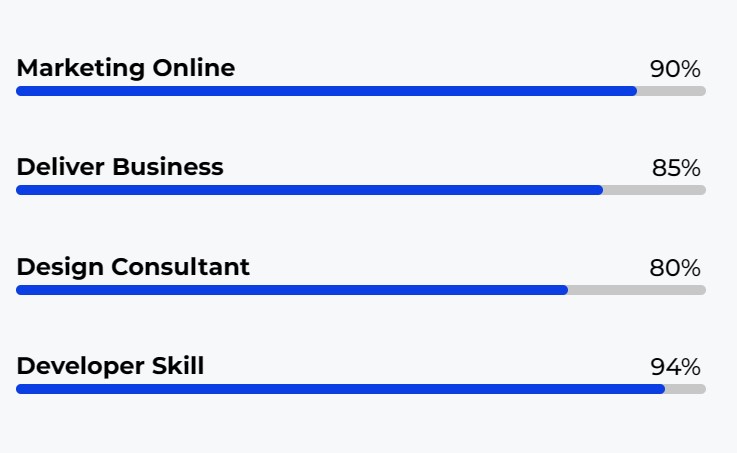
Please go to System/Manage/Site Modules => Click "New" button to create a new module >> Select "Custom" module.
Backend Settings: Module/Options
Copy & Paste the code into your editor:
<div>[yt_progress_bar type_change="linear" percent="90" style_linear="thin" yt_text="Marketing Online" text_color="#000000" bar_color="#c7c7c7" fill_color="#0b3fe4" animation="easeInOutExpo" duration="1.5" delay="0.3" ] </div>
<div>[yt_progress_bar type_change="linear" percent="85" style_linear="thin" yt_text="Deliver Business" text_color="#000000" bar_color="#c7c7c7" fill_color="#0b3fe4" animation="easeInOutExpo" duration="1.5" delay="0.3" ] </div>
<div>[yt_progress_bar type_change="linear" percent="80" style_linear="thin" yt_text="Design Consultant" text_color="#000000" bar_color="#c7c7c7" fill_color="#0b3fe4" animation="easeInOutExpo" duration="1.5" delay="0.3" ] </div>
<div>[yt_progress_bar type_change="linear" percent="94" style_linear="thin" yt_text="Developer Skill" text_color="#000000" bar_color="#c7c7c7" fill_color="#0b3fe4" animation="easeInOutExpo" duration="1.5" delay="0.3" ] </div>
Then create the about us page and import page. Please go to Components => SP Page business => Click New button => Enter the Title: "About us"
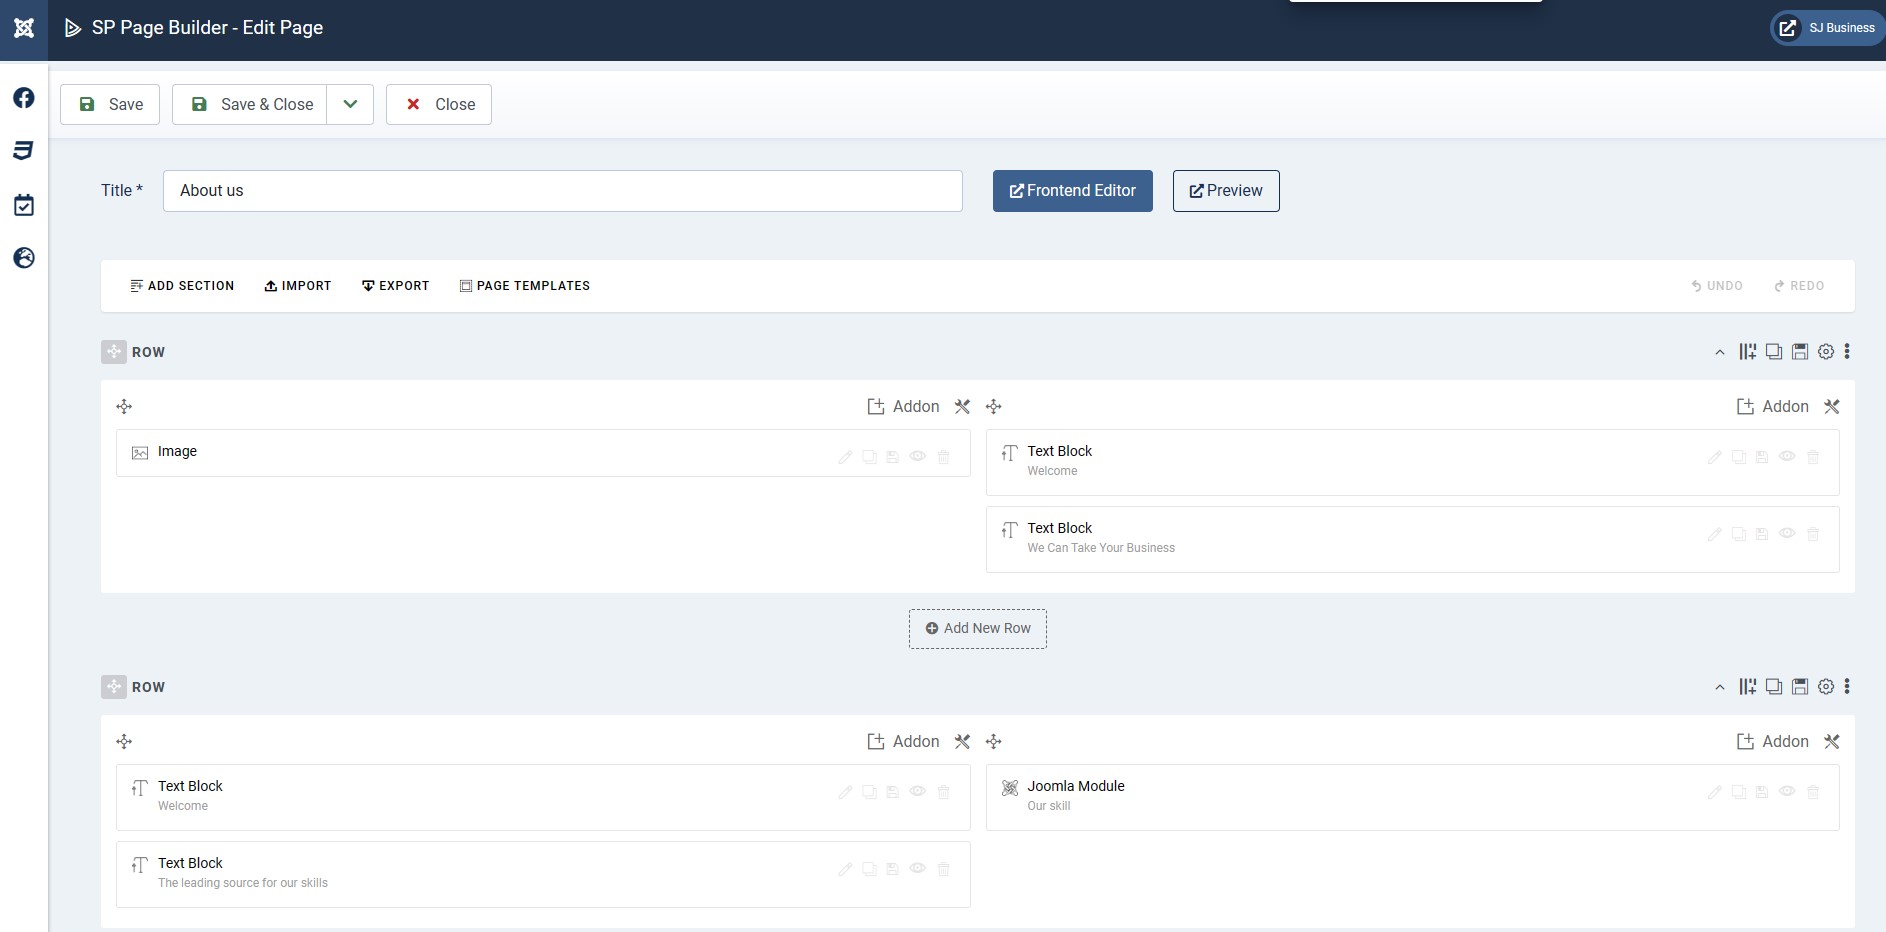
# Click Import
# Unzip the template package (eg name: sj_business_template_j4x_v1.0.0.zip) to get the json files: "sp-aboutpage.json"
# Select the file: "sp-aboutpage.json" and then Save
The next, go to Menus => Main menu => Click New button => Enter the Title: About Us. Select "SP Page business » Page: About us"
Services page
Please go to Components => SP Page business => Click New button => Enter the Title: "Services"
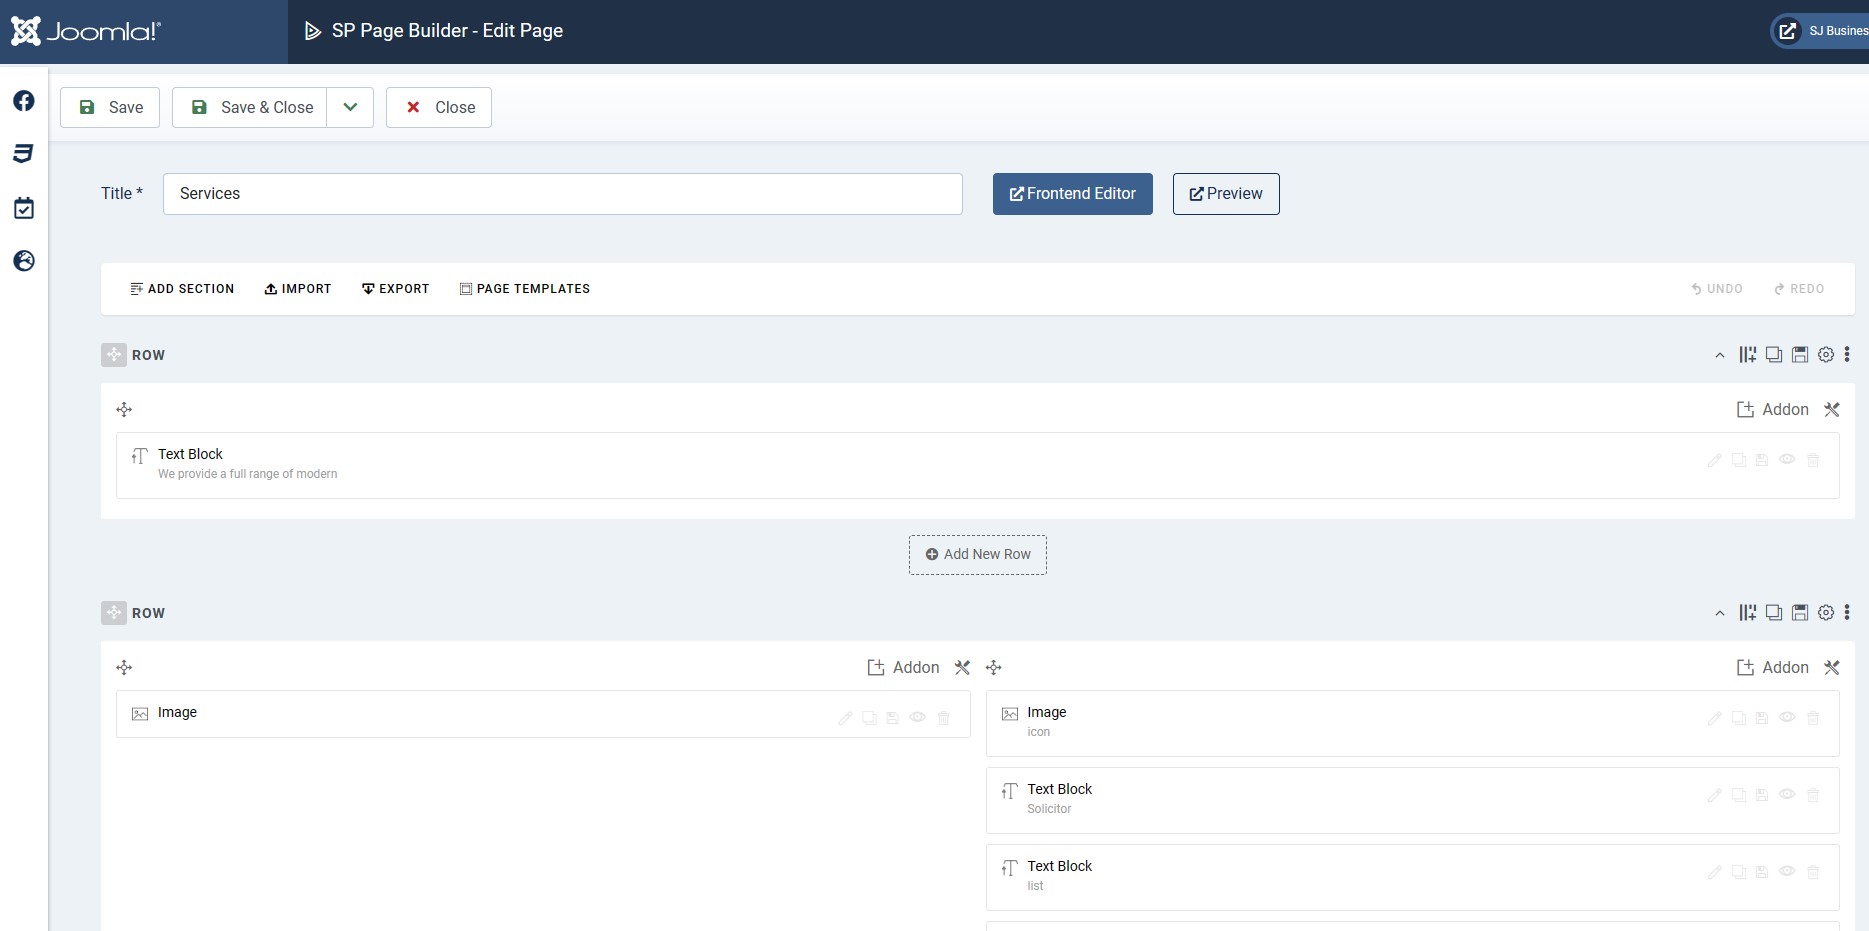
# Click Import
# Unzip the template package (eg name: sj_business_template_j4x_v1.0.0.zip) to get the json files: "sp-servicespage.json"
# Select the file: "sp-servicespage.json" and then Save
The next, go to Menus => Main menu => Click New button => Enter the Title: Services. Select "SP Page business » Page: Services"
Install multilingual site in SJ Template
Please go to System => Manage => Languages to install the language that you wanto use.
Then go toSystem => Manage => Content Languages and click "New" button to crete the New Content Language.
Copyright
To remove Designed by SmartAddons.Com at the footer of template, please purchase our Copyright Removal here
Support
Thank you so much for purchasing this template. If you have any questions that are beyond the scope of this help file, please send us via: Submit a Ticket
Thanks so much!